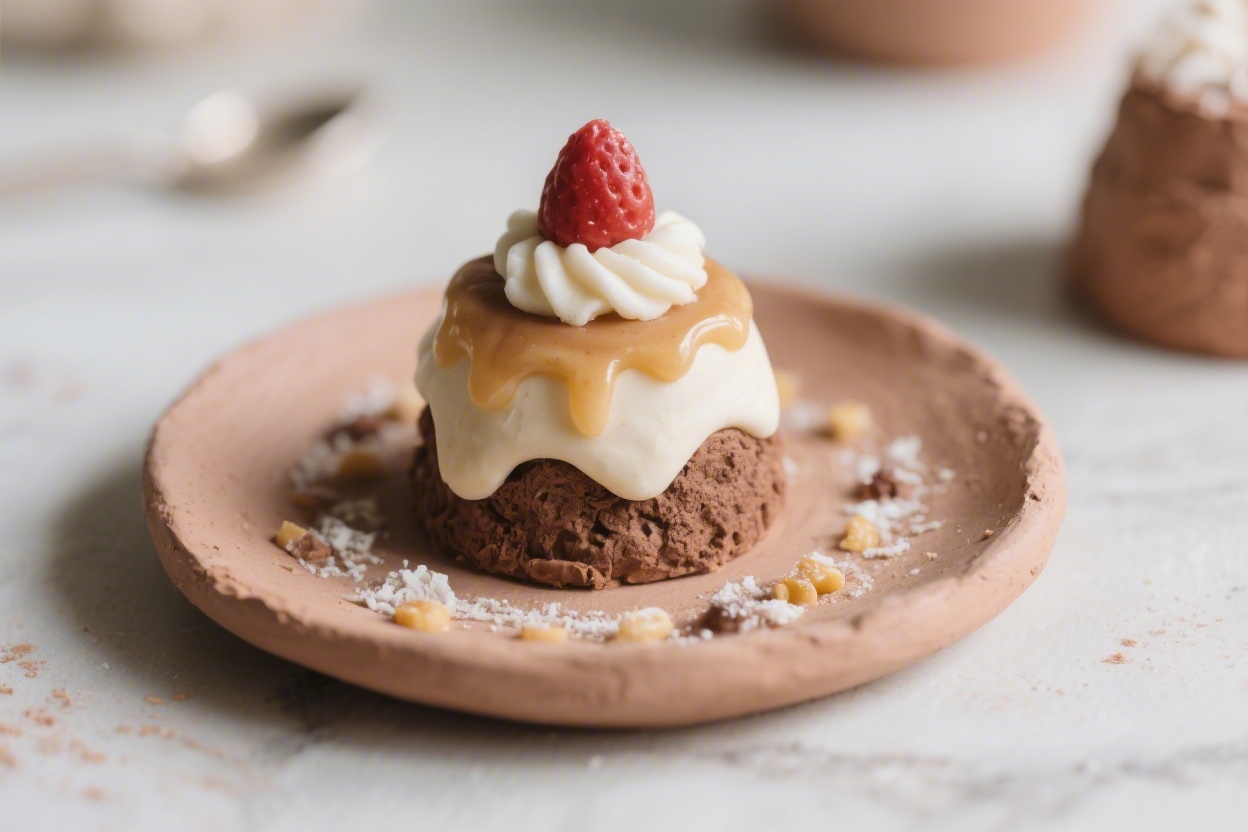
Clay Dessert DIY Idea That Looks Good Enough to Eat – A Cute, Crafty Project
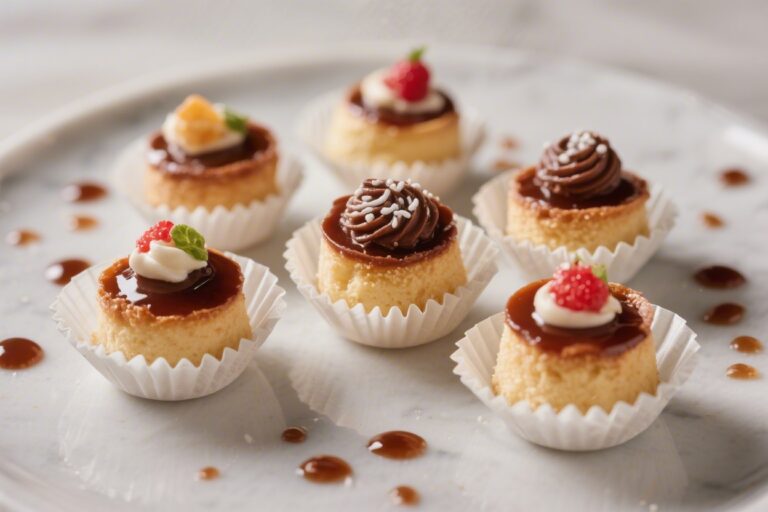
Crafting food that looks real—without a single calorie—is oddly satisfying. This clay dessert DIY gives you the charm of bakery-fresh treats you can display, gift, or use as photo props. Think tiny frosted cupcakes, glossy donuts, and pastel macarons that look like the real deal.
The best part? No oven mitts needed, just a bit of clay, paint, and patience. If you love miniatures or just want a relaxing weekend project, this one’s a winner.
What Makes This Recipe So Good
Clay Dessert DIY Idea That Looks Good Enough to Eat - A Cute, Crafty Project
Ingredients
- Clay: Air-dry clay or polymer clay (in white and a few colors)
- Acrylic paints: Pastels and bakery shades (cream, chocolate brown, berry pink)
- Gloss varnish or UV resin: For a shiny “glaze” finish
- Liquid clay or white glue: For frosting effects
- Chalk pastels: Browns and warm tones for baked edges
- Fine glitter or microbeads: For “sprinkles”
- Craft knife and toothpicks: Cutting and texturing
- Soft brush and sponge: For dusting and blending colors
- Rolling pin: Or a smooth bottle for flattening clay
- Baking sheet (for polymer clay): If you choose oven-bake clay
- Optional findings: Magnet backs, keychain rings, eye pins
Instructions
- Pick your dessert style. Donuts, cupcakes, and macarons are the easiest and most realistic for beginners. Decide on sizes—miniatures are cute but trickier, so start medium.
- Condition your clay. Knead until smooth and warm. This prevents cracks and helps hold detail.
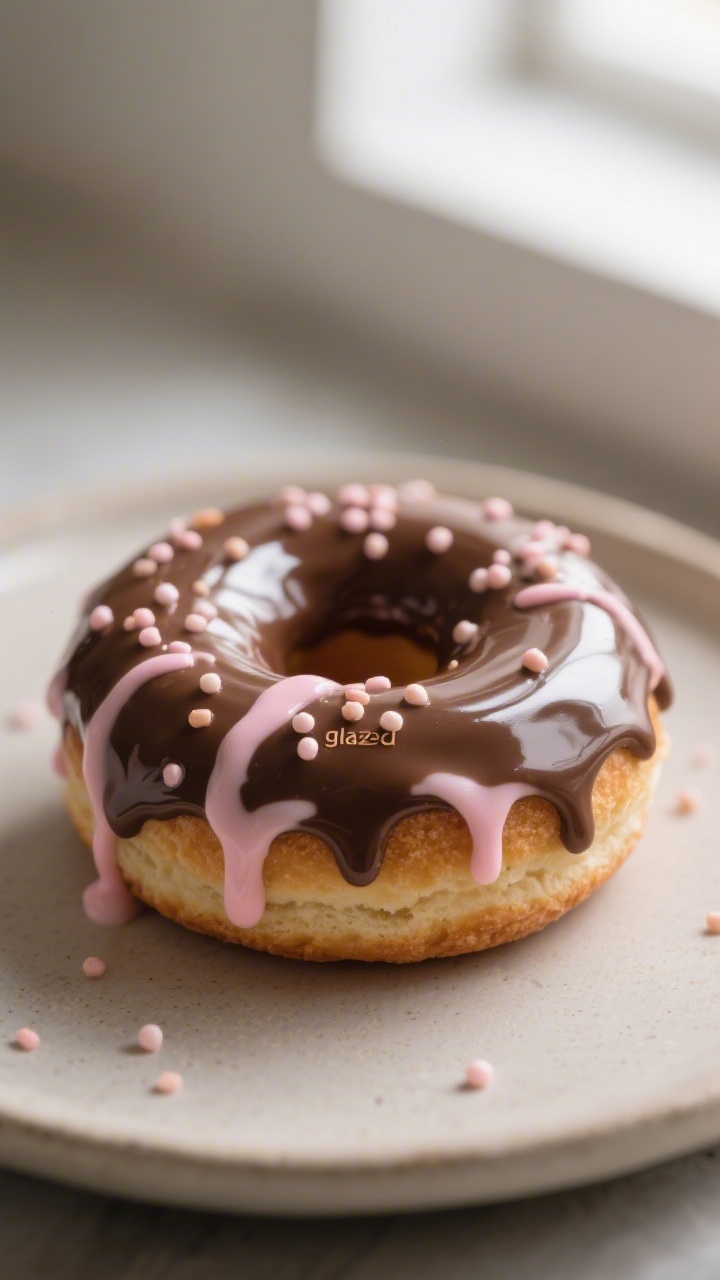
- Shape the base. Donut: Roll a ball, poke a hole with a straw or tool, and widen gently.
- Cupcake: Roll a ball for the cake and press into a short cylinder. Add faint vertical lines for the wrapper.
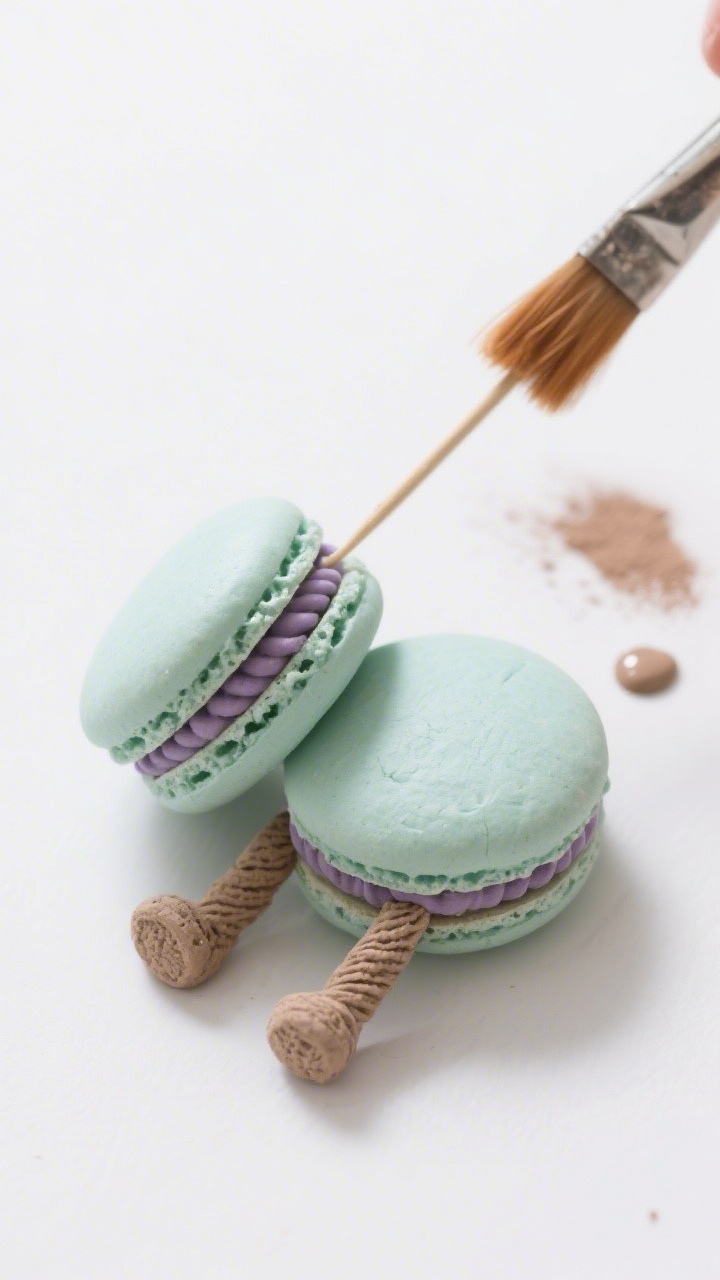
- Macaron: Form two even discs with a slight dome.
- Add texture for realism. Lightly dab the “cake” surfaces with a toothbrush or crumpled foil for a baked crumb look. Keep tops smoother if you want a glazed style.
- Create the frosting. Mix white glue with a touch of acrylic paint for a quick “icing,” or use liquid clay if you plan to bake it. Drip and spread gently so it looks naturally imperfect.
- Make fillings and details. For macarons: Add a thin coil of clay between shells and texture the “feet” with a toothpick.
- For cupcakes: Swirl “frosting” using a piping tip or a small plastic bag with the corner snipped.
- For donuts: Add a glaze ring and let some drip over the sides.
- Color like a baker. Use dry chalk pastels shaved into powder. Brush warm browns on edges for a baked look. Add blush pinks or cocoa tones for depth. Keep it subtle.
- Sprinkle and shine. While “frosting” is tacky, press on microbeads for sprinkles. Add tiny clay fruits if you like. Seal with a gloss varnish or thin UV resin layer for a true pastry sheen.
- Cure or dry. Air-dry clay: Let dry 24–48 hours, turning occasionally for even drying.
- Polymer clay: Bake per package directions on a lined sheet. Do not overbake.
- Finish and assemble. Glue on magnet backs or insert eye pins before curing if making charms. Add a final gloss coat to icing areas for that “freshly glazed” look.
- Beginner-friendly: Air-dry or polymer clay is easy to shape, smooth, and decorate.
- Super customizable: Choose your “flavors,” colors, and toppings to match any theme.
- Convincing realism: Simple texture tricks make your pieces look bakery-perfect.
- Low-cost supplies: Most tools are basic and reusable.
- Great for gifts: Turn them into magnets, keychains, or desk decor.
Ingredients
- Clay: Air-dry clay or polymer clay (in white and a few colors)
- Acrylic paints: Pastels and bakery shades (cream, chocolate brown, berry pink)
- Gloss varnish or UV resin: For a shiny “glaze” finish
- Liquid clay or white glue: For frosting effects
- Chalk pastels: Browns and warm tones for baked edges
- Fine glitter or microbeads: For “sprinkles”
- Craft knife and toothpicks: Cutting and texturing
- Soft brush and sponge: For dusting and blending colors
- Rolling pin: Or a smooth bottle for flattening clay
- Baking sheet (for polymer clay): If you choose oven-bake clay
- Optional findings: Magnet backs, keychain rings, eye pins
Instructions
- Pick your dessert style. Donuts, cupcakes, and macarons are the easiest and most realistic for beginners.Decide on sizes—miniatures are cute but trickier, so start medium.
- Condition your clay. Knead until smooth and warm. This prevents cracks and helps hold detail.
- Shape the base.
- Donut: Roll a ball, poke a hole with a straw or tool, and widen gently.
- Cupcake: Roll a ball for the cake and press into a short cylinder. Add faint vertical lines for the wrapper.
- Macaron: Form two even discs with a slight dome.
- Add texture for realism. Lightly dab the “cake” surfaces with a toothbrush or crumpled foil for a baked crumb look.Keep tops smoother if you want a glazed style.
- Create the frosting. Mix white glue with a touch of acrylic paint for a quick “icing,” or use liquid clay if you plan to bake it. Drip and spread gently so it looks naturally imperfect.
- Make fillings and details.
- For macarons: Add a thin coil of clay between shells and texture the “feet” with a toothpick.
- For cupcakes: Swirl “frosting” using a piping tip or a small plastic bag with the corner snipped.
- For donuts: Add a glaze ring and let some drip over the sides.
- Color like a baker. Use dry chalk pastels shaved into powder. Brush warm browns on edges for a baked look.Add blush pinks or cocoa tones for depth. Keep it subtle.
- Sprinkle and shine. While “frosting” is tacky, press on microbeads for sprinkles. Add tiny clay fruits if you like.Seal with a gloss varnish or thin UV resin layer for a true pastry sheen.
- Cure or dry.
- Air-dry clay: Let dry 24–48 hours, turning occasionally for even drying.
- Polymer clay: Bake per package directions on a lined sheet. Do not overbake.
- Finish and assemble. Glue on magnet backs or insert eye pins before curing if making charms. Add a final gloss coat to icing areas for that “freshly glazed” look.
Keeping It Fresh
- Dust protection: Display under a clear dome, in a shadow box, or inside a glass jar.
- Avoid heat and sun: Direct sunlight can fade paint and yellow varnish.
- Gentle cleaning: Use a soft brush or microfiber cloth.Skip water if you used air-dry clay without sealing.
- Seal smart: A thin, even varnish layer helps prevent scuffs and keeps colors bright.

Health Benefits
- Zero calories, all the joy: Satisfy your dessert aesthetic without the sugar.
- Mindful crafting: Hands-on projects can reduce stress and support focus.
- Fine motor skills: Tiny details improve dexterity and patience.
- Creative expression: Designing “flavors” and textures boosts confidence and playfulness.
What Not to Do
- Don’t use food tools on clay. Keep craft tools separate from kitchen tools.
- Don’t rush drying or baking. Cracks and bubbles happen when you speed the process.
- Don’t skip conditioning. Stiff clay leads to crumbly edges and poor adhesion.
- Don’t flood with varnish. Thick coats can stay tacky or cloud the finish.
- Don’t forget scale. Oversized sprinkles or too-thick “icing” can ruin realism.
Recipe Variations
- Glazed fruit tarts: Press a shallow shell, add tiny clay berries, and coat with gloss for a jelly-like finish.
- Eclairs and cream puffs: Shape elongated or round puffs, texture lightly, add pale filling lines, and top with chocolate “ganache.”
- Birthday cake slices: Stack thin clay layers with colored “filling,” then smooth frosting on the outside and add confetti sprinkles.
- Seasonal specials: Pumpkin-spice donuts in fall, strawberry shortcake minis in spring—just tweak colors and toppings.
- Wearable sweets: Add eye pins to turn macarons into earrings or donut charms into keychains.
FAQ
Is air-dry clay or polymer clay better for this project?
Air-dry clay is convenient and great for beginners, but it can be more fragile if left unsealed. Polymer clay bakes hard and holds detail beautifully. If you want long-lasting charms or jewelry, polymer clay is the better pick.
How do I make the icing look realistic?
Use a mix of white glue and acrylic paint for a soft, creamy look, or liquid polymer clay for baked pieces.
Let it drip a little over edges and finish with a gloss coat. Keep colors a touch muted for a natural bakery vibe.
What if my clay cracks while drying?
Small cracks can be filled with a touch of fresh clay or lightweight spackle, then sanded gently once dry. Prevent cracks by conditioning clay well and drying slowly away from heat or drafts.
Can I add a scent?
Yes, but use craft-safe fragrance oils sparingly and only on fully cured pieces.
Avoid oils if your item will be handled often, as some can soften finishes over time.
How do I attach magnets or keychain findings?
For polymer clay, insert eye pins before baking. For magnets, glue them onto fully cured pieces with a strong craft adhesive. Let adhesives cure completely before use.
In Conclusion
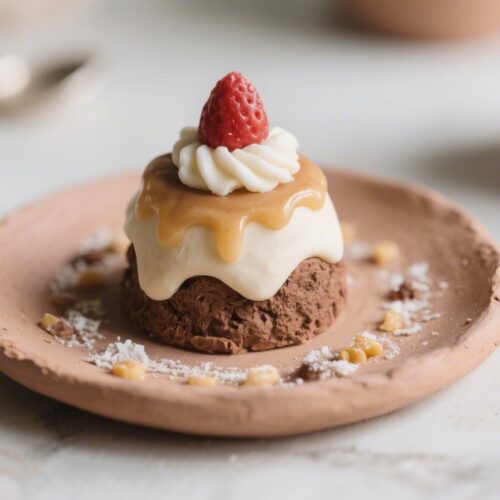
This clay dessert DIY is a sweet, low-stress craft that looks delicious on a shelf or bag charm.
With simple tools and a few texture tricks, your faux pastries can pass for the real thing. Start with donuts or macarons, keep your details small and neat, and finish with a glossy “glaze.” You’ll have a tray of treats that last far longer than any cupcake ever could.
Printable Recipe Card
Want just the essential recipe details without scrolling through the article? Get our printable recipe card with just the ingredients and instructions.