Profitable Dessert to Sell from Home – Small-Batch Chocolate Fudge Brownies
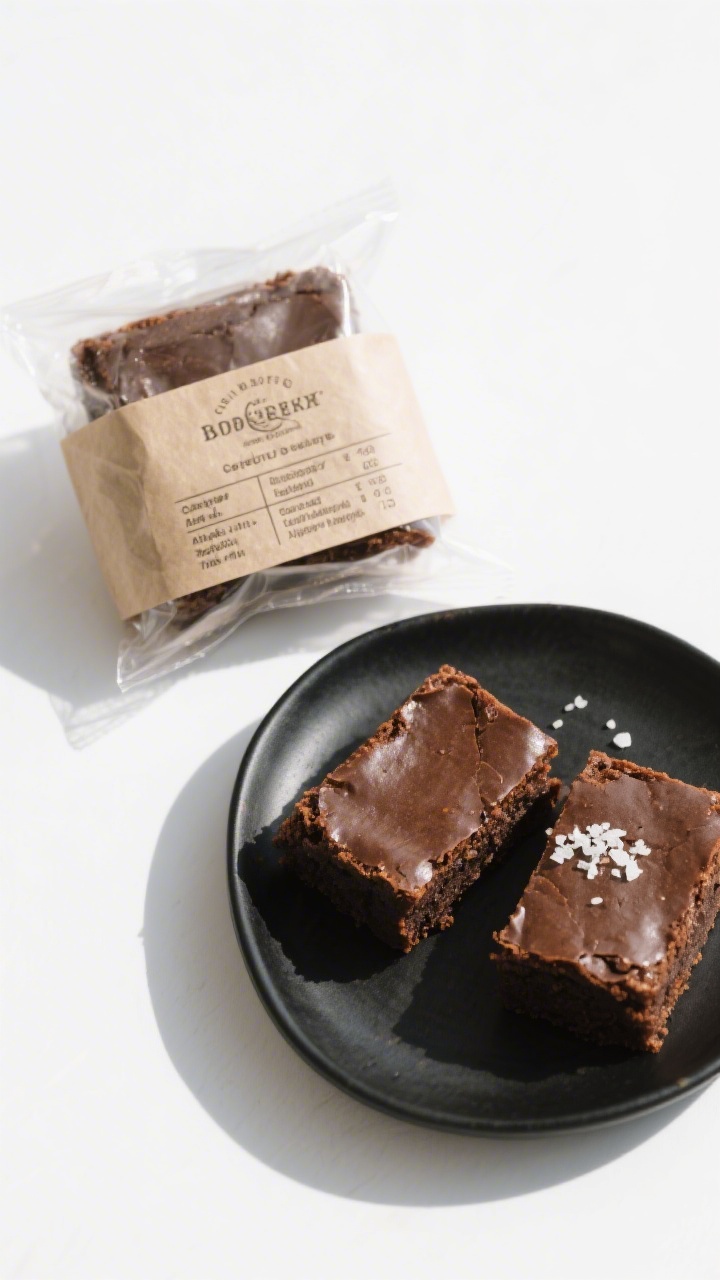
Rich, chewy brownies are a top seller for home bakers because they’re affordable to make, quick to bake, and easy to package. These small-batch chocolate fudge brownies hit all the right notes: gooey centers, glossy tops, and big chocolate flavor. You can sell them as squares, minis, or topped slices for a higher price point.
The ingredients are simple, the method is reliable, and the results are consistently crowd-pleasing.
What Makes This Recipe So Good

- High profit margin: Pantry staples turn into a premium treat with low overhead and solid markup.
- Scales easily: Double or triple the batch without changing the method.
- Customizable: Add-ins and toppings let you create multiple flavors from one base batter.
- Great shelf life: Stays moist for days when wrapped well, and freezes beautifully.
- Perfect for portioning: Sell as classic squares, mini bites, or packaged pairs.
Shopping List
- 1/2 cup (115 g) unsalted butter
- 1 cup (200 g) granulated sugar
- 2 large eggs, room temperature
- 1 teaspoon vanilla extract
- 1/3 cup (40 g) unsweetened cocoa powder
- 1/2 cup (65 g) all-purpose flour
- 1/4 teaspoon fine salt
- 1/4 teaspoon baking powder
- 1/2 cup (90 g) chocolate chips or chunks (optional but recommended)
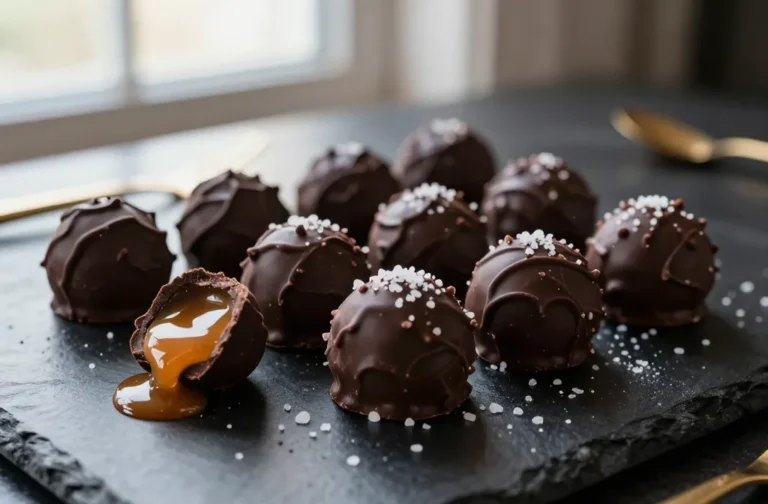
- Optional toppings: flaky sea salt, chopped nuts, caramel drizzle, or crushed cookies
- For packaging: parchment paper, food-safe cellophane bags or clamshells, labels
Instructions

- Prep the pan: Heat oven to 350°F (175°C). Line an 8-inch square pan with parchment, leaving overhang for easy lifting.
- Melt the butter: In a saucepan or microwave-safe bowl, melt butter until just liquid, not sizzling. Whisk in sugar until glossy and slightly thick, about 30 seconds.
- Add eggs and vanilla: Whisk in eggs one at a time, then the vanilla.
Mix until the batter looks thick and shiny. This creates that classic brownie crust.
- Whisk dry ingredients: In a separate bowl, combine cocoa, flour, salt, and baking powder.
- Combine: Fold dry ingredients into the wet mixture until no streaks remain. Do not overmix.
Stir in chocolate chips if using.
- Bake: Spread batter evenly in the pan. Bake 20–24 minutes, until the edges are set and a toothpick in the center comes out with moist crumbs, not wet batter.
- Cool completely: Let brownies cool in the pan, then lift out and chill 30 minutes for cleaner cuts.
- Portion and package: Cut into 9 large squares or 12–16 smaller bites. Wrap individually in parchment and place into bags or clamshells.
Label with flavor and date.
Keeping It Fresh
- Room temperature: Store wrapped brownies in an airtight container up to 4 days.
- Refrigerator: Extends freshness to about 7 days; bring to room temp before serving.
- Freezer: Wrap tightly and freeze up to 2 months. Thaw wrapped to prevent condensation.
- Batching tip: Bake in the evening, chill overnight, cut and package in the morning for clean edges and speedy workflow.

Benefits of This Recipe
- Reliable texture: Fudgy middle with crisp, shiny top attracts repeat buyers.
- Flexible pricing: Offer a base brownie and premium add-ons to increase average order value.
- Simple equipment: No mixer needed—just bowls, a whisk, and a square pan.
- All-season appeal: Rotate toppings for holidays and events without changing the base recipe.
Common Mistakes to Avoid
- Overbaking: Pull them when a toothpick shows moist crumbs. Dry brownies don’t sell.
- Hot cutting: Cutting warm brownies leads to crumbles.
Cool fully for clean, pro-looking edges.
- Skipping the sugar whip: Failing to whisk sugar into warm butter reduces that glossy crust.
- Too many add-ins: Overloading chips or nuts can make brownies greasy and sink in the center.
- Weak packaging: Thin bags or no parchment can smear toppings and hurt presentation.
Alternatives
- Gluten-free: Swap flour for a 1:1 gluten-free blend. Add 1 tablespoon milk if batter seems thick.
- Dairy-free: Use plant-based butter and dairy-free chips. Texture remains fudgy.
- Flavor twists: Peanut butter swirl, espresso powder (1 teaspoon), mint chips, or raspberry jam ribbons.
- Portion variations: Bake in mini muffin tins for brownie bites—about 10–12 minutes.
FAQ
How much should I charge per brownie?
Pricing depends on your location and packaging, but a common range is $2.50–$4.00 per standard square and $1.25–$2.00 per mini.
Premium toppings can add $0.50–$1.00 each.
Can I bake these in larger batches?
Yes. Double the recipe for a 9×13-inch pan and add 5–8 minutes to the bake time, checking early for doneness.
How do I get a shiny, crackly top?
Whisk the sugar into warm melted butter, then beat in the eggs until the batter is thick and glossy. Avoid overmixing the dry ingredients afterward.
What’s the best way to package for sale?
Wrap each brownie in parchment, then seal in a food-safe bag or clamshell.
Add a label with flavor, date, and allergens. For premium look, add a branded sticker or ribbon.
Do I need permits to sell from home?
Many areas allow home-based sales under cottage food laws, but rules vary. Check local regulations for approved foods, labeling, and sales channels.
How long do these stay fresh?
At room temperature, about 4 days when wrapped well.
Refrigerated, up to a week. Frozen, up to 2 months.
Wrapping Up
Small-batch chocolate fudge brownies check every box for a profitable home dessert: simple ingredients, quick prep, and strong curb appeal. With a few easy upgrades—like sea salt, caramel, or seasonal flavors—you can create a whole menu from one reliable base.
Keep cuts clean, packaging neat, and pricing clear, and you’ll have a treat that sells itself.
Printable Recipe Card
Want just the essential recipe details without scrolling through the article? Get our printable recipe card with just the ingredients and instructions.