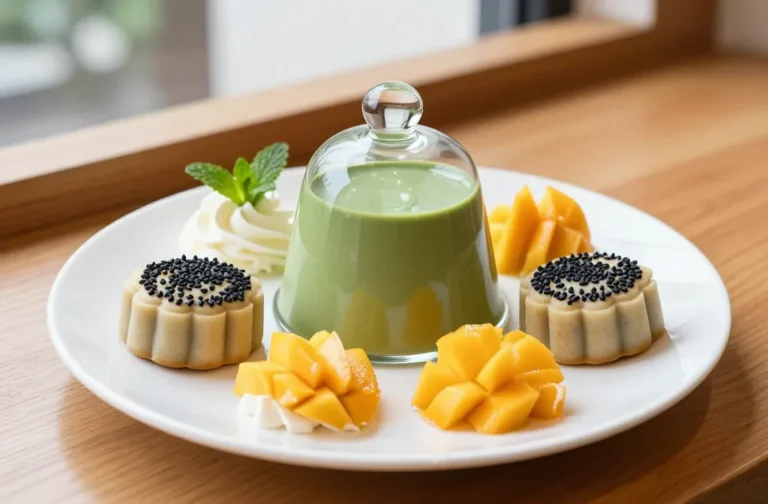

Jelly Dessert That Is Fun and Colorful – Simple, Bright, and Party-Ready
This jelly dessert brings color, joy, and a little bit of magic to the table. It’s easy to make, looks impressive, and tastes like childhood in the best way. Layers of vibrant jelly with creamy pockets in between make every slice a surprise.
Whether you’re hosting a party or just want something cheerful after dinner, this one checks every box.
What Makes This Recipe So Good
- Playful presentation: Bright, layered squares or slices that look stunning with minimal effort.
- Easy ingredients: Pantry-friendly and customizable with any flavors or colors you like.
- Kid-approved and adult-friendly: Sweet and light, with a creamy element that balances the fruitiness.
- Make-ahead convenience: Chill, set, and serve when you’re ready—no last-minute stress.
- Endless variations: Mix flavors, add fruit, or keep it classic—this recipe is flexible.
What You’ll Need
- 3 boxes flavored gelatin (3 oz/85 g each), in different colors
- 1 can sweetened condensed milk (14 oz/397 g)
- 2 envelopes unflavored gelatin (about 2 tablespoons total)
- 4 cups boiling water, divided
- 1 1/2 cups cold water, divided
- 1 teaspoon vanilla extract (optional)
- Neutral oil or nonstick spray for the pan
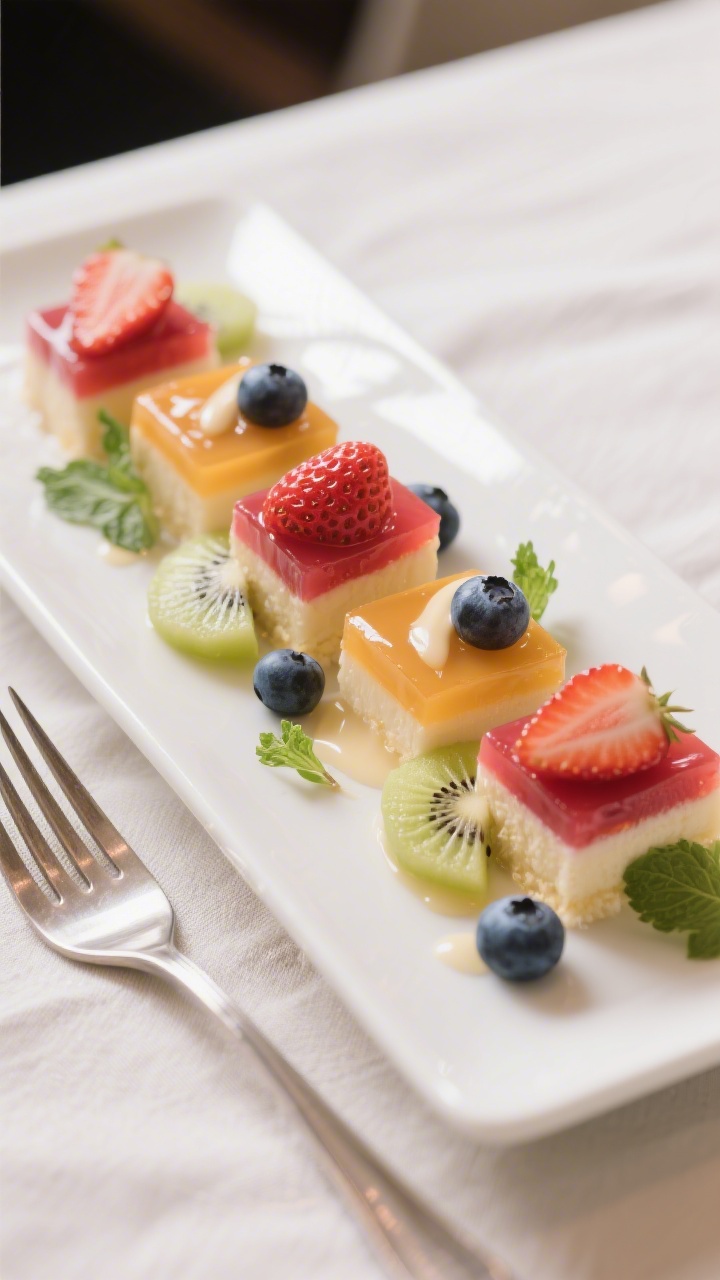
- Fresh fruit for topping (optional): berries, kiwi, or mango
Step-by-Step Instructions
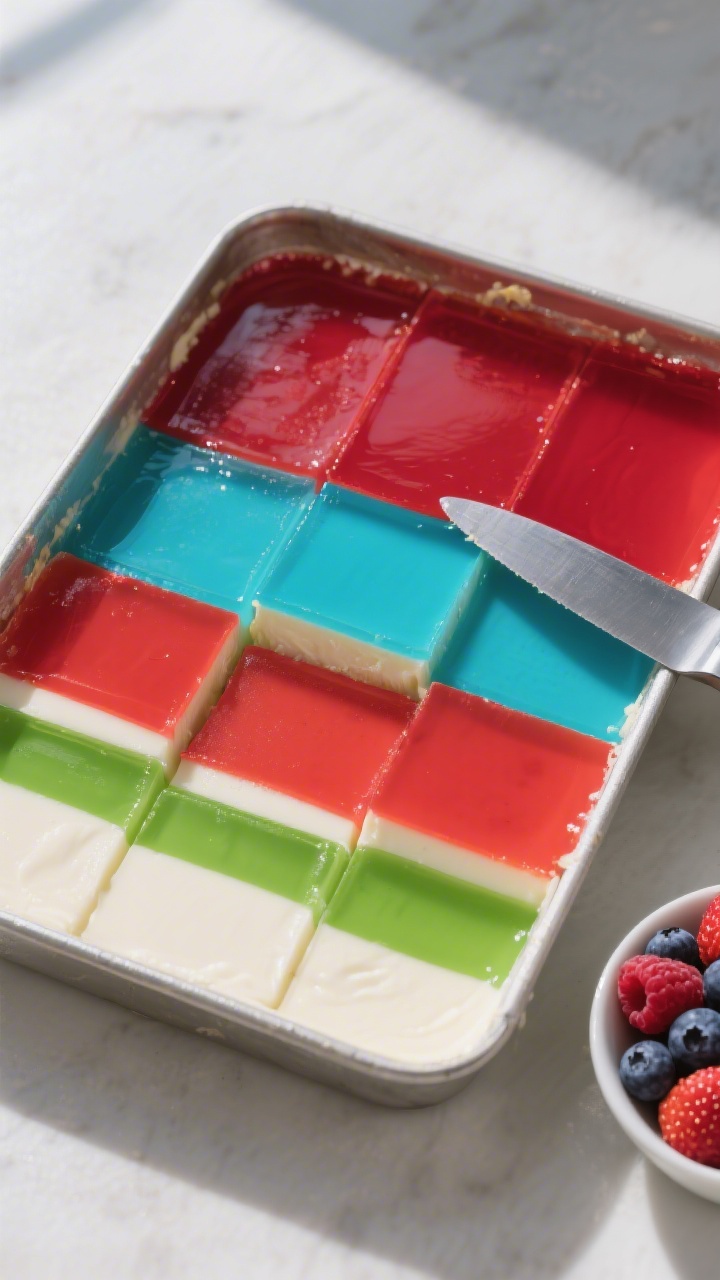
- Prep the pan: Lightly grease a 9×13-inch baking dish with oil or nonstick spray. This helps the layers release cleanly.
- Make the first color layer: In a bowl, dissolve one box of flavored gelatin in 1 cup boiling water. Stir until clear.
Add 1/2 cup cold water. Pour into the pan and chill for 20–25 minutes, until softly set.
- Start the creamy layer: In a small bowl, sprinkle 1 envelope unflavored gelatin over 1/2 cup cold water. Let it bloom for 5 minutes.
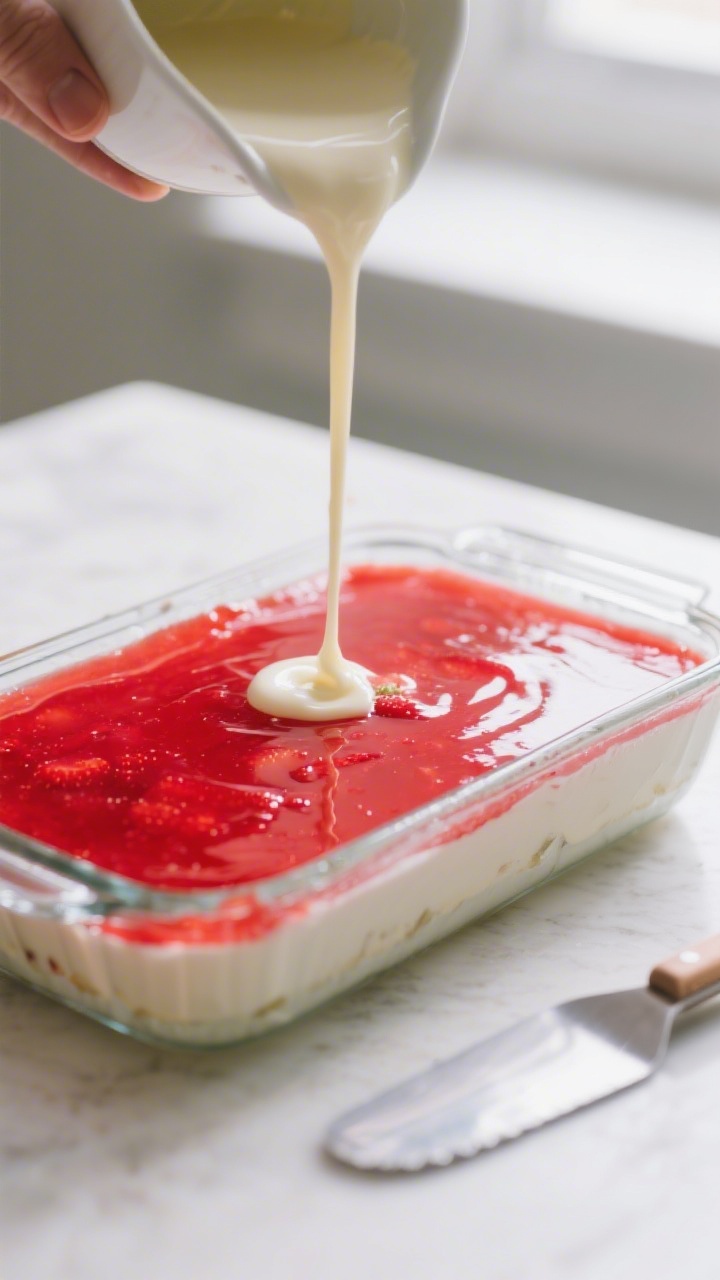
- Finish the creamy layer: In a separate bowl, combine sweetened condensed milk with 1 cup hot water and vanilla.
Microwave or heat the bloomed gelatin until fully dissolved (about 10–15 seconds), then stir it into the milk mixture. Let it cool until barely warm.
- Add the first creamy layer: Gently pour about half of the creamy mixture over the set jelly. Chill for 15–20 minutes, until it holds a light fingerprint.
- Make the second color layer: Repeat step 2 with the second flavored gelatin.
Let it cool for 5–7 minutes on the counter so it doesn’t melt the layer below, then pour over the creamy layer. Chill 20–25 minutes.
- Add the second creamy layer: Pour the remaining creamy mixture over the set jelly. Chill again for 15–20 minutes.
- Make the third color layer: Prepare the final flavored gelatin as before.
Cool slightly, pour on top, and chill for at least 2 hours, or until fully firm.
- Slice and serve: Run a thin knife around the edges. Cut into squares or rectangles. Top with fresh fruit if you like.
Keeping It Fresh
- Refrigerate covered: Store in an airtight container or tightly covered pan for up to 4–5 days.
- Avoid strong odors: Jelly can pick up fridge smells, so keep it sealed.
- No freezing: Freezing ruins the texture, so stick to the fridge.
Benefits of This Recipe
- Budget-friendly: Uses affordable, easy-to-find ingredients.
- Great for groups: One pan serves a crowd and looks party-ready.
- Light but satisfying: Sweet, creamy, and fruity without feeling heavy.
- Customizable for seasons and themes: Match colors to holidays, birthdays, or school events.
Common Mistakes to Avoid
- Pouring hot layers on cold ones: Let each layer cool slightly so it doesn’t melt through.
- Rushing the set time: If it’s too soft, layers will blend.
Wait until it’s lightly firm before adding the next.
- Skipping the bloom: Unflavored gelatin must bloom in cold water or it can clump.
- Forgetting to grease the pan: A light coat helps you get clean slices.
Recipe Variations
- Tropical Twist: Use mango, pineapple, and lime gelatin. Add tiny diced mango between layers.
- Berries and Cream: Stick to strawberry, raspberry, and blueberry gelatin. Top with fresh berries.
- Rainbow Stacks: Use more colors and thinner layers for a taller, show-stopping dessert.
- Dairy-Free Cream Layer: Swap condensed milk for sweetened coconut milk and a touch of sugar.
Bloom gelatin the same way.
- Party Molds: Pour into silicone molds or cups for individual servings.
FAQ
Can I use only flavored gelatin and skip the creamy layer?
Yes. Just alternate different flavored gelatins or stack three colors. It will still set beautifully and look festive.
How do I prevent layers from mixing?
Let each layer cool to lukewarm before pouring.
Check that the layer underneath is softly set—not wobbly liquid—before adding the next.
Can I make this dessert ahead?
Absolutely. It’s best when made at least a few hours in advance. You can prepare it the day before serving.
What pan size works best?
A 9×13-inch pan gives neat, even layers.
For thicker slices, use an 8×8-inch pan and expect longer set times.
Is there a vegetarian option?
Use a plant-based gelatin alternative that sets firmly. Follow the package directions since ratios differ from standard gelatin.
Wrapping Up
This Jelly Dessert That Is Fun and Colorful is simple, reliable, and a guaranteed crowd-pleaser. The layers look fancy, but the process is straightforward and forgiving.
Mix your favorite flavors, let the fridge do the work, and slice into bright, happy squares whenever you’re ready to celebrate.
Printable Recipe Card
Want just the essential recipe details without scrolling through the article? Get our printable recipe card with just the ingredients and instructions.