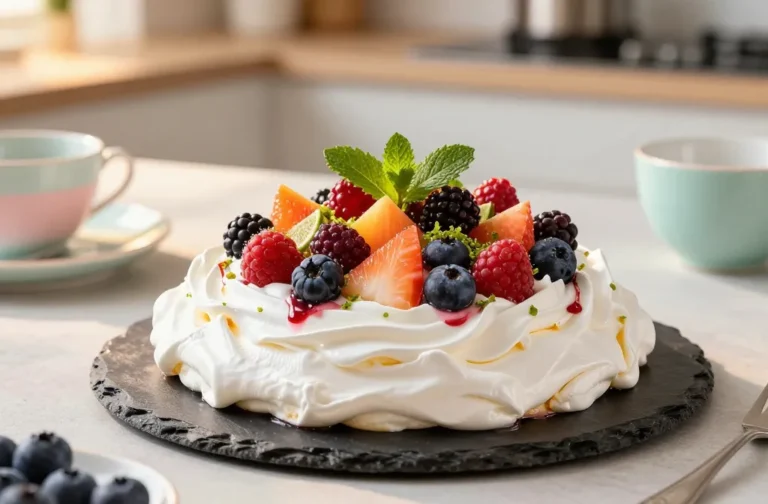

6 Silicone Mold Desserts That Look Like Art: Gallery-Ready Treats
Imagine desserts that double as tiny sculptures on your plate. These six silicone-mold treats are showstoppers that taste as good as they look. FYI, you’ll wow guests without turning your kitchen into a science lab.
1. Abstract Berry Courture: A Silky Raspberry Mousse in Velvet Ribbons
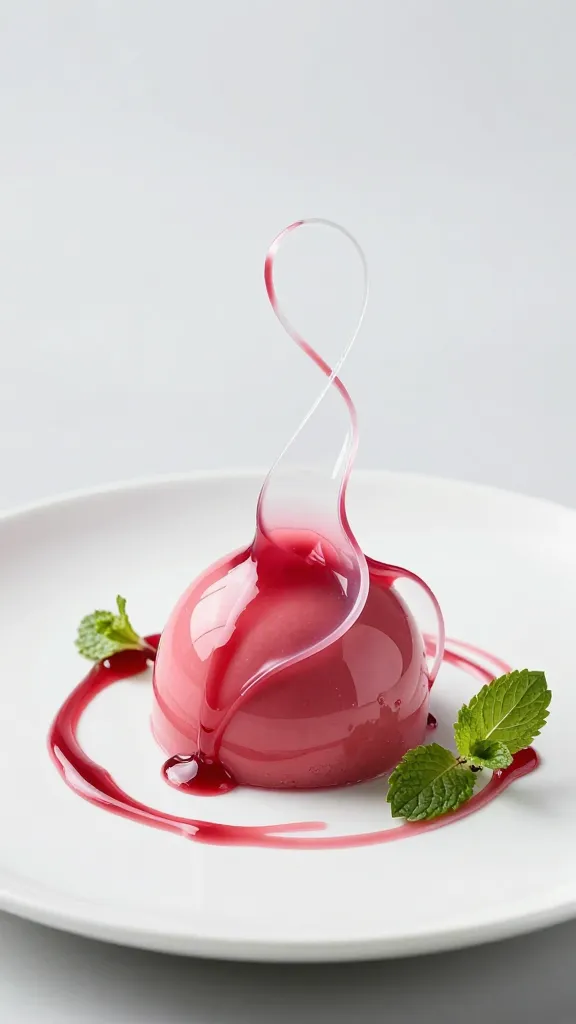
This dessert is all about finesse with a playful edge. The silicone mold keeps the mousse glossy and the ribbons of berry coulis make it sing. Seriously, you’ll want to plate this like a gallery piece.
Ingredients:
- 1 cup fresh raspberries
- 2 tbsp sugar
- 1 cup heavy cream
- 1 tsp vanilla extract
- 2 tsp lemon juice
- 1 tsp unflavored gelatin
- 2 tbsp water
- Fresh mint leaves for garnish
Instructions:
- Puree raspberries with sugar until smooth; strain to remove seeds.
- Bloom gelatin in water for 5 minutes, then warm gently until dissolved.
- Beat cream with vanilla until soft peaks form.
- Fold in berry purée and gelatin until just combined.
- Fill silicone mold halves, tap out air, and chill 3 hours or until set.
- Unmold onto plates and drizzle with a light berry coulis.
Serve with a sprig of mint and a dusting of powdered sugar. If you want extra drama, plate on a mirror-like surface for that gallery vibe. Trust me, it’s photogenic.
2. Marble Citrus Gelatin Gardens: A Zesty, Colorful Bloom in a Mold
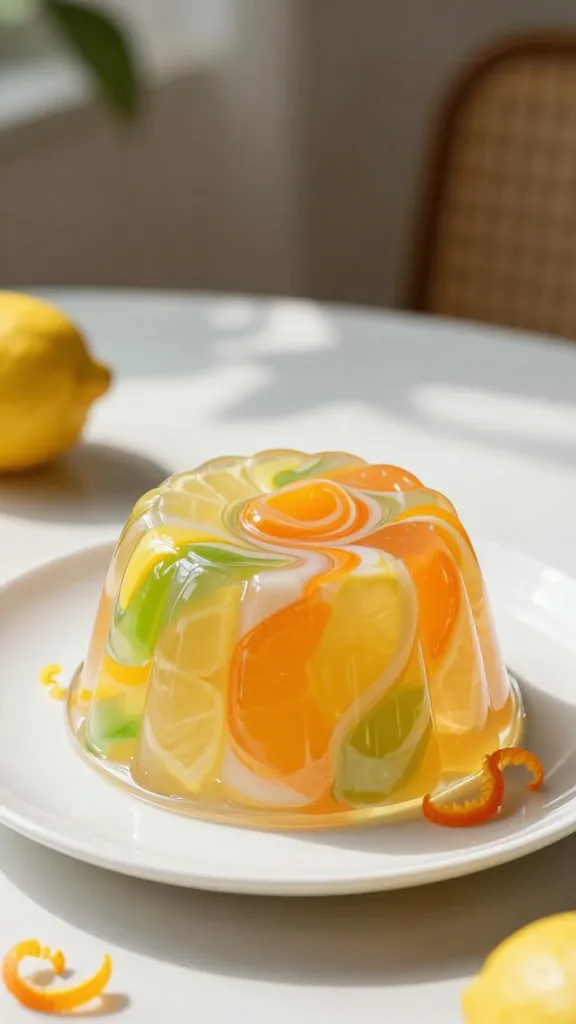
This one pops with citrusy brightness and looks like a tiny garden sculpture. It’s refreshing after a rich meal, yet delicate enough for a fancy afternoon tea. IMO, it’s the citrus flex you didn’t know you needed.
Ingredients:
- 1 cup orange juice, freshly squeezed
- 1/2 cup lemon juice
- 1/4 cup sugar
- 2 tsp gelatin
- 2 tbsp cold water
- Pinch of salt
- Colorful citrus zest for garnish
Instructions:
- Bloom gelatin in cold water for 5 minutes.
- Heat orange and lemon juice with sugar until sugar dissolves.
- Stir in gelatin until completely dissolved; add salt.
- Pour into silicone molds in a thin layer and refrigerate 20 minutes to set slightly.
- Add a second colorful layer and repeat until molds are full. Chill until firm.
- Unmold gently and garnish with citrus zest.
Pair with a light yogurt drizzle or whipped cream if you’re feeling extra. This one looks like a mini citrus orchard—adorable and tasty.
3. Velvet Midnight Cocoa Orbs: Dark Chocolate Magic Inside a Silky Shell
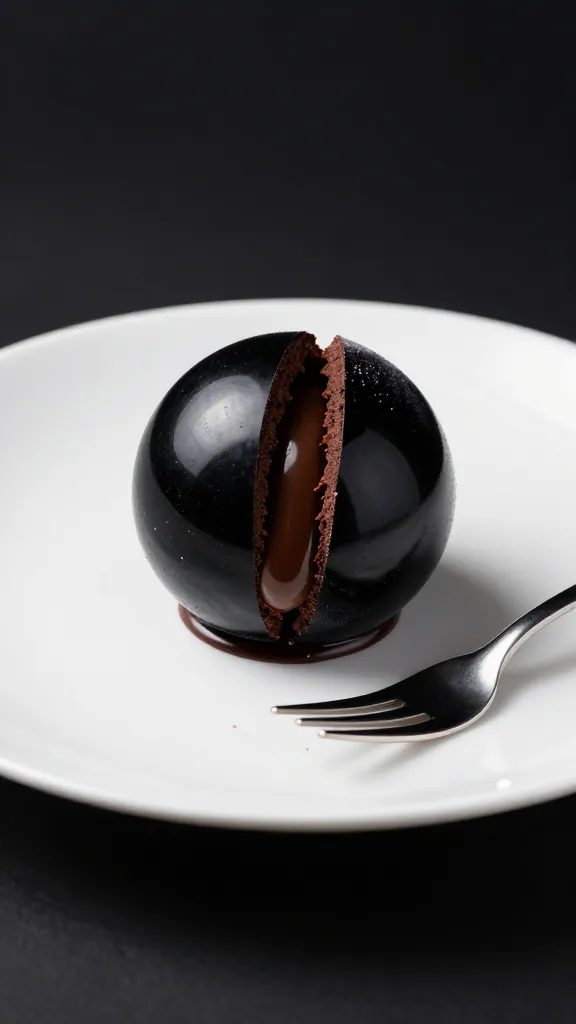
A touch of drama with a velvet interior. The silicone mold gives you perfect, glossy spheres that crack open to a rich center. Seriously indulgent, and gorgeous on a dessert plate.
Ingredients:
- 4 oz dark chocolate, chopped
- 1/2 cup heavy cream
- 2 tbsp butter
- 1/4 cup powdered sugar
- 1 tsp vanilla extract
- pinch of sea salt
Instructions:
- Heat cream until just simmering; pour over chocolate in a bowl, add butter and salt. Let sit 1 minute, then whisk until glossy.
- Whisk in powdered sugar and vanilla until smooth. Chill 1 hour until thickened but pourable.
- Pour a thin layer into silicone molds and freeze 15 minutes to form a shell.
- Fill with remaining ganache or a thick chocolate center, seal with more ganache, and freeze until solid.
- Unmold and dust with cocoa powder just before serving.
Serve with vanilla bean ice cream or a dollop of whipped cream. Tip: keep the shells as thin as possible for a satisfying snap.
4. Coconut Pearl Cone: Snowy Mini Desserts with a Tropical Twist

Think snowy pearls that melt into creamy coconut goodness. They’re light, tropical, and striking in a row on a plate. FYI, your guests will want them plated by a pro—chips and all included.
Ingredients:
- 1 cup coconut milk
- 2 tbsp sugar
- 1 tsp vanilla extract
- 1/2 cup shredded coconut, toasted
- 1 sachet gelatin or 2 tsp gelatin
- 2 tbsp cold water
Instructions:
- Bloom gelatin in cold water 5 minutes.
- Warm coconut milk with sugar and vanilla until sugar dissolves; stir in gelatin until dissolved.
- Pour into silicone molds and sprinkle toasted coconut on top for texture. Chill until set.
- Unmold carefully and arrange on a platter with extra coconut flakes.
For a fun variation, swap coconut milk for almond milk and add a splash of lime zest. A tiny tropical vacation in your mouth.
5. Honeyed Fig Silhouette Cups: Rustic Meets Artisanal Elegance
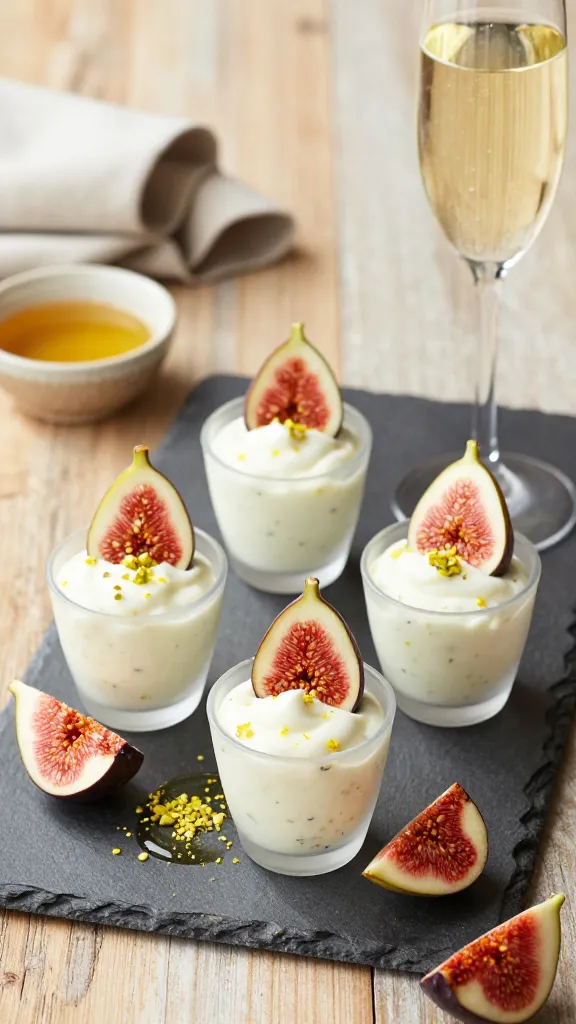
These little cups balance sweet and earthy flavors with a pretty fig mosaic on top. They’re a crowd-pleaser at dinner parties and pair beautifully with sparkling wine. Seriously elegant, but not fussy.
Ingredients:
- 6 fresh figs, chopped
- 2 tbsp honey
- 1/2 cup mascarpone
- 1/2 cup Greek yogurt
- 1 tsp lemon zest
- 1 tsp vanilla extract
- 1 sachet gelatin or 2 tsp gelatin
- 2 tbsp cold water
Instructions:
- Bloom gelatin in cold water 5 minutes.
- Whisk mascarpone, yogurt, lemon zest, and vanilla until creamy.
- Heat honey gently, mix in gelatin until dissolved, then cool slightly.
- Fold honey-gelatin into the mascarpone mixture. Layer chopped figs at the bottom of the silicone molds, pour custard over, and chill until set.
- Unmold and drizzle with extra honey if desired.
Finish with a final fig slice or a mint leaf. It looks like a tiny sculpture of a orchard, and tastes like a sunny afternoon.
6. Caramelized Orange Tiers: Sunset in a Mold with a Crunch

This dessert mimics a tiered sunset with crunchy caramel bits. It’s dramatic, delicious, and surprisingly simple. Trust me, the pop of orange zest in each bite will make the room glow.
Ingredients:
- 2 oranges, segmented
- 2 tbsp sugar
- 1/2 cup heavy cream
- 1/4 cup crushed almonds or hazelnuts
- 1/2 tsp orange liqueur (optional)
- 1 sachet gelatin or 2 tsp gelatin
- 2 tbsp cold water
Instructions:
- Bloom gelatin in cold water 5 minutes.
- Caramelize sugar in a small pan until amber, then stir in cream to make a sauce; cool slightly.
- Layer orange segments in the mold, sprinkle nuts, and drizzle with caramel sauce.
- Fold in gelatin and additional orange zest for brightness; chill until set.
- Unmold carefully and finish with a final drizzle of caramel sauce.
Serve with a spoonful of whipped cream and extra zest. The layers resemble a tiny sunset, and the citrus perfume is unmistakable. FYI, this one pairs beautifully with a dessert wine.
Ready to stack up the plates and turn dessert into mini sculpture time? These six silicone mold desserts prove that you don’t need a fancy gallery kitchen to make cuisine look like art. So grab your molds, pick a favorite, and start plating like a pro—your future self will thank you for the confidence boost and the photo-worthy results. Seriously, you’ve got this.
Now go on, pick your favorite shape and start crafting edible masterpieces. The world may be full of ordinary desserts, but yours will be a small museum in the making.
Printable Recipe Card
Want just the essential recipe details without scrolling through the article? Get our printable recipe card with just the ingredients and instructions.