Ice Cream Dessert That Goes Way Beyond a Scoop – A Layered, No-Bake Treat
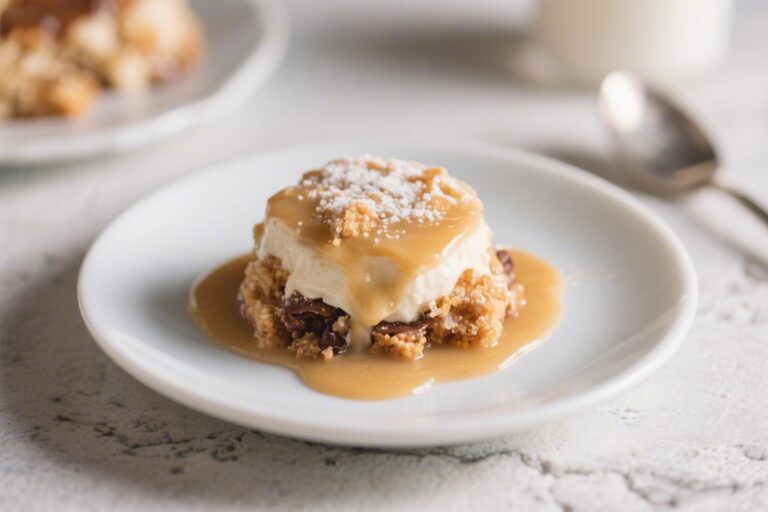
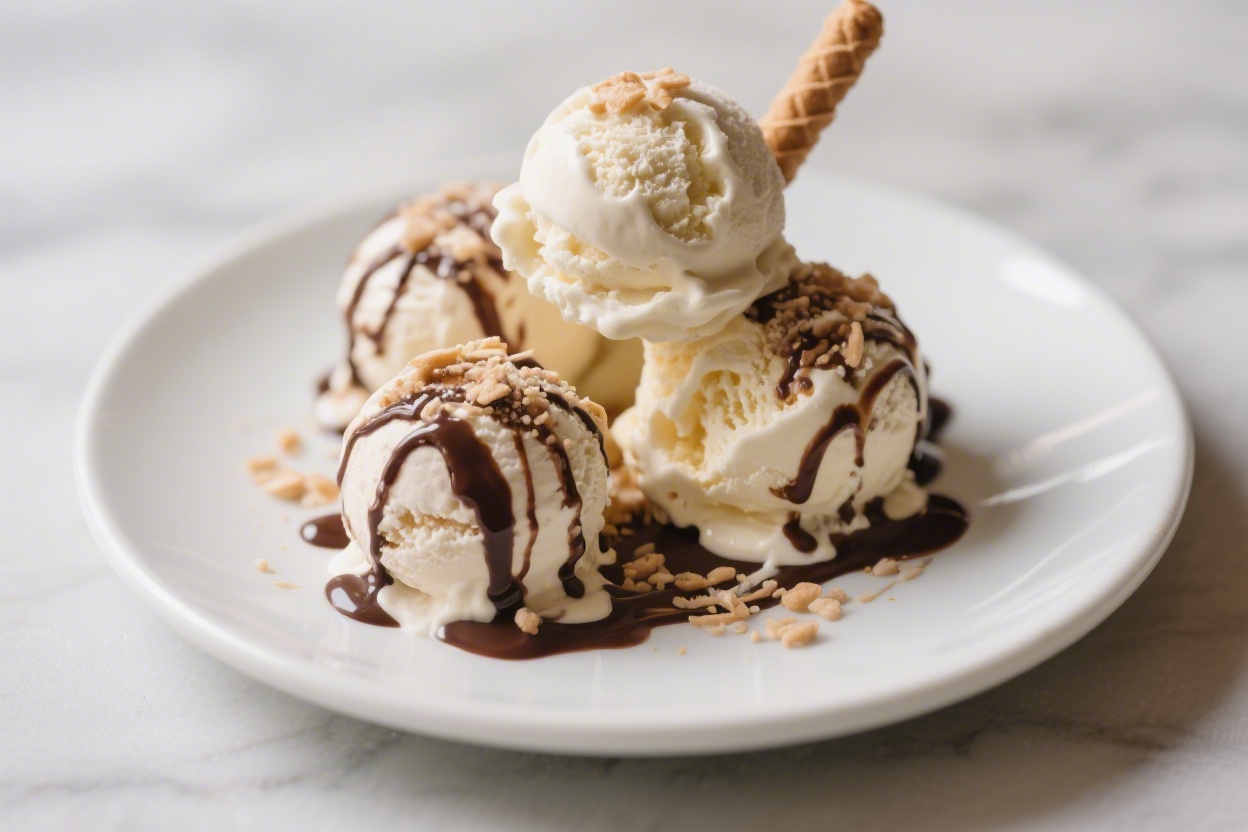
This isn’t just a bowl of ice cream. It’s a layered dessert that turns a simple scoop into something you could serve at a party. You’ll get a crunchy cookie base, a creamy ice cream center, and a glossy chocolate shell that cracks when you cut into it.
It looks impressive but comes together with zero baking and very little effort. If you can soften ice cream and melt chocolate, you can make this.
Why This Recipe Works
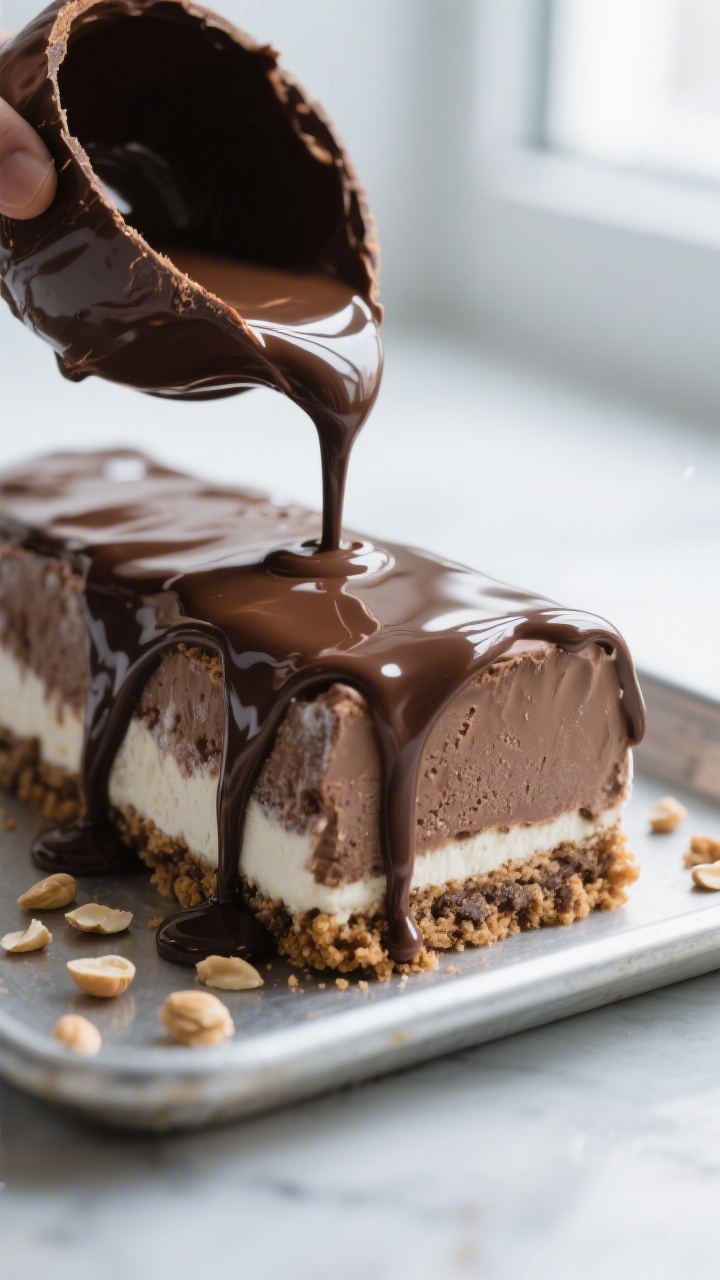
This dessert layers textures so every bite feels special. The cookie crust brings crunch, the ice cream keeps things cool and creamy, and the chocolate shell adds a satisfying snap.
A pinch of salt and a splash of vanilla keep the sweetness balanced. Best of all, it uses store-bought ingredients and a standard loaf pan, so there’s no fuss.
Ingredients
- 2 cups chocolate wafer cookies or chocolate graham crackers, crushed
- 6 tablespoons unsalted butter, melted
- 1/4 teaspoon fine sea salt
- 1 1/2 quarts vanilla ice cream, slightly softened (10–15 minutes at room temp)
- 1 teaspoon pure vanilla extract (optional but recommended)
- 1 1/2 cups semisweet chocolate chips
- 3 tablespoons coconut oil or neutral oil (for a shiny, crackly shell)
- 1/2 cup salted roasted peanuts, chopped (optional garnish)
- 1/4 cup caramel sauce (optional drizzle)
How to Make It
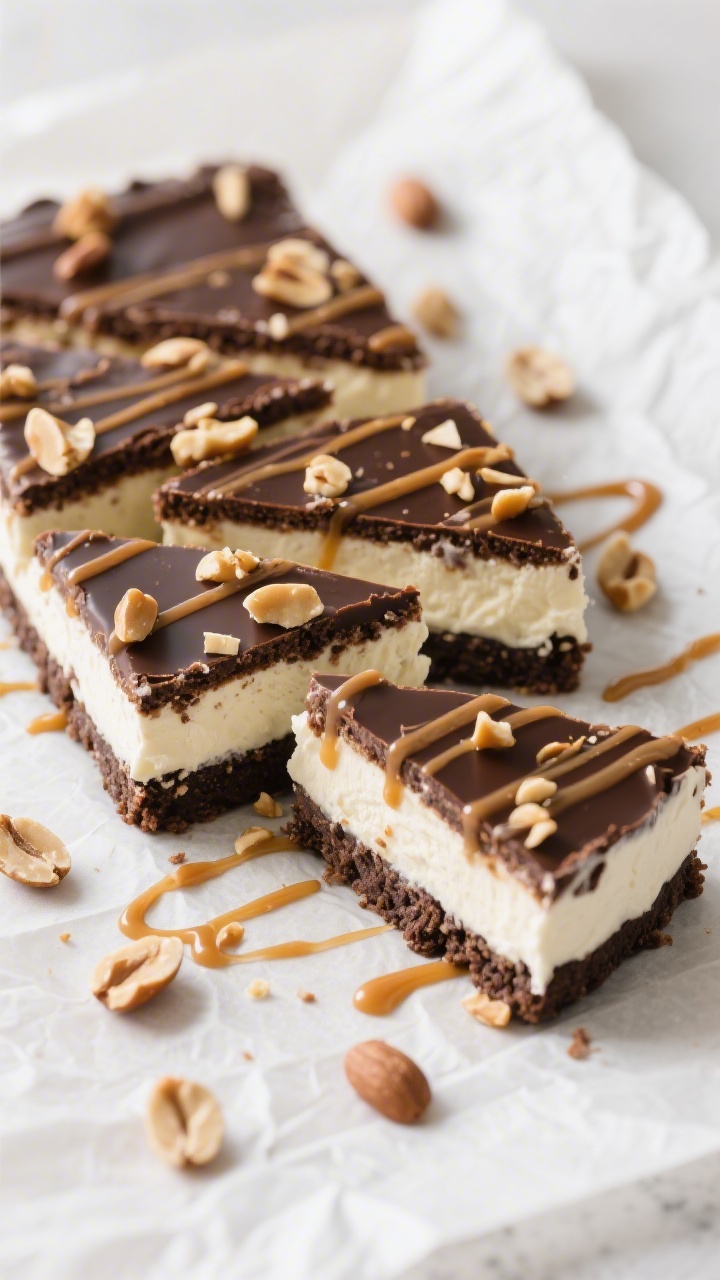
- Prep the pan: Line a 9×5-inch loaf pan with parchment, leaving overhang on the long sides to lift later. This makes slicing clean and easy.
- Make the crust: In a bowl, mix crushed cookies, melted butter, and salt until it feels like damp sand.
Press firmly into the bottom of the pan with the back of a spoon. Freeze for 10 minutes.
- Soften and flavor the ice cream: In a large bowl, stir the softened vanilla ice cream with the vanilla extract until smooth and spreadable. Don’t let it melt; you want a thick, soft texture.
- Layer the ice cream: Spread half the ice cream over the crust.
Smooth the top. If using caramel, drizzle a thin layer over the ice cream and sprinkle on half the peanuts. Add the remaining ice cream on top and smooth again.
- Freeze to set: Freeze the pan for 2–3 hours, or until the ice cream is firm to the touch.
- Make the chocolate shell: Melt chocolate chips and coconut oil together in a microwave (30-second bursts, stirring between) or over a double boiler until smooth and glossy.
- Glaze the dessert: Lift the set dessert out of the pan using the parchment.
Place on a chilled sheet pan. Pour the warm chocolate over the top and let it run down the sides. Work quickly for an even coat.
- Add crunch: Sprinkle remaining peanuts on the wet chocolate.
Freeze for 20–30 minutes to set the shell.
- Slice and serve: For clean slices, run a sharp knife under hot water, wipe dry, and cut. Drizzle extra caramel if you like.
How to Store
- Short term: Keep covered in the freezer for up to 1 week. Press plastic wrap directly onto any cut surfaces to prevent ice crystals.
- Long term: Wrap tightly in plastic, then foil, and store in an airtight container for up to 1 month.
Flavor will be best within 10 days.
- Before serving: Let sit at room temperature for 5 minutes to soften slightly for easier slicing.
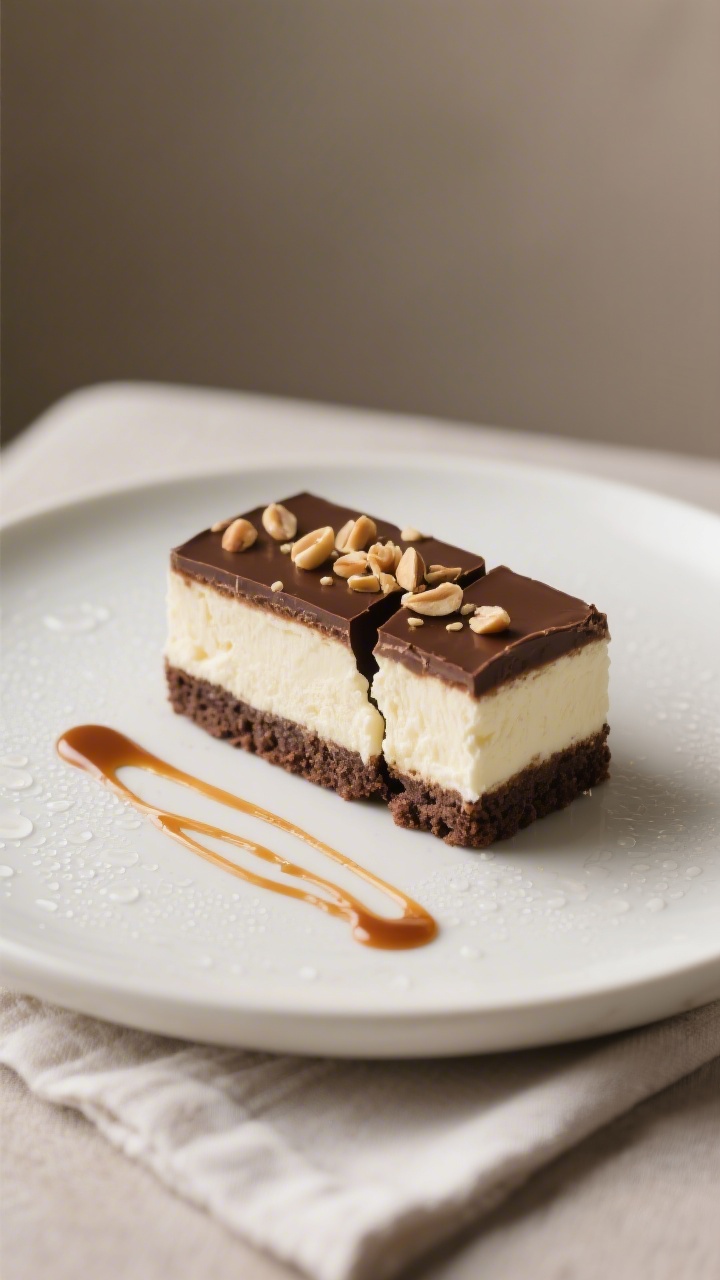
Why This is Good for You
This dessert is about balance and portion. You get satisfying textures, which helps you feel content with a small slice. Using salted nuts adds protein and healthy fats, keeping the sweetness in check.
If you choose good-quality ice cream with simple ingredients, you’re picking flavor over fillers. It’s an indulgence, but one that respects your time and tastes.
What Not to Do
- Don’t over-melt the ice cream. If it gets soupy, it will form ice crystals and lose its creamy texture.
- Don’t skip the parchment. Without it, you’ll struggle to lift and slice.
- Don’t pour hot chocolate on cold ice cream. Let the chocolate cool a minute so it’s warm, not scorching, or it can crack unevenly and slide off.
- Don’t forget the salt. A small pinch in the crust and salted nuts on top keep the flavors bright, not cloying.
Recipe Variations
- Mocha Crunch: Use coffee ice cream and add a thin layer of crushed chocolate-covered espresso beans between layers.
- Berry Swirl: Use strawberry or raspberry sorbet for one layer and vanilla ice cream for the other. Drizzle with warmed berry jam before freezing.
- Mint Chip Delight: Swap in mint chip ice cream and finish with crushed chocolate mint candies on top.
- Peanut Butter Fudge: Whisk 1/2 cup peanut butter into the softened ice cream and drizzle hot fudge between layers.
- Gluten-Free: Use certified gluten-free chocolate cookies for the crust.
- Dairy-Free: Use coconut or almond milk ice cream and dairy-free chocolate chips.
FAQ
Can I make this ahead?
Yes.
Make it up to 3 days ahead. Keep it tightly wrapped in the freezer and add the chocolate shell the day you plan to serve for the best shine.
What if I don’t have coconut oil?
Use neutral oil like canola or light olive oil. The shell may be slightly softer but will still set nicely in the freezer.
My crust crumbled—what went wrong?
It likely needed more butter or firmer pressing.
Add another tablespoon of melted butter if the mixture seems too dry, and tamp it down well before freezing.
How do I prevent ice crystals?
Keep everything cold and work quickly. Don’t let the ice cream melt during assembly, and press plastic wrap directly onto exposed surfaces before storing.
Can I use a different pan?
A springform pan works well and makes serving easy. If using an 8×8-inch pan, the layers will be a bit thinner but still delicious.
Final Thoughts
This ice cream dessert takes a familiar favorite and gives it some drama—crunch, cream, and a glossy shell.
It looks like you spent hours, but it’s mostly assembly. Keep the steps simple, the ingredients cold, and the flavors balanced. Once you slice into that crackly top, you’ll see why it goes way beyond a scoop.