
Easy Low Carb Dessert That Actually Tastes Good – Creamy Chocolate Peanut Butter Cups
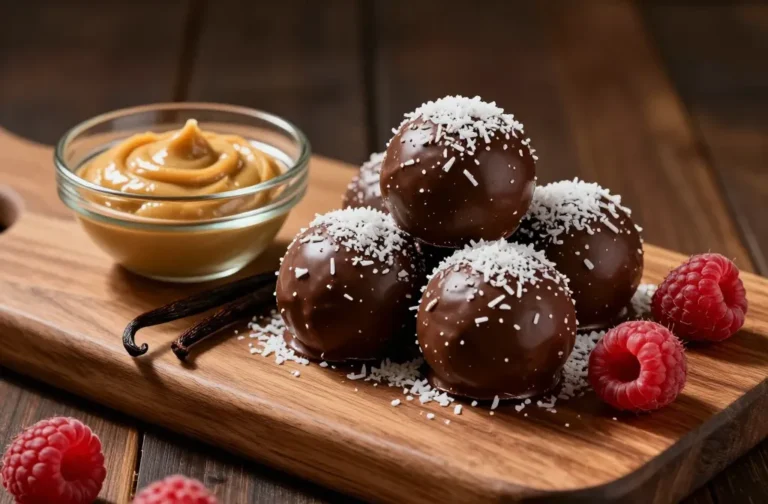
These little chocolate peanut butter cups taste like a treat you shouldn’t be allowed to have, but they’re low carb and super simple. You only need a handful of ingredients and about 15 minutes of hands-on time. The texture is silky and fudgy, with a salty-sweet peanut butter center that hits all the cravings.
Make a batch on Sunday, and you’ll have a sweet fix ready whenever you want something satisfying without the sugar crash.
Easy Low Carb Dessert That Actually Tastes Good - Creamy Chocolate Peanut Butter Cups
Ingredients
- Sugar-free dark chocolate chips (or a 70–85% dark chocolate bar if you’re flexible on carbs)
- Natural peanut butter (creamy, no added sugar; substitute almond or sunflower seed butter if needed)
- Coconut oil or butter (to help the chocolate set silky-smooth)
- Powdered or liquid low-carb sweetener (erythritol/monk fruit blend, allulose, or stevia)
- Vanilla extract
- Fine sea salt
- Flaky salt (optional, for topping)
- Mini muffin liners and a mini muffin tin
Instructions
- Prep the pan: Line a mini muffin tin with 18–24 mini liners, depending on how thick you like your cups.
- Melt the chocolate: In a microwave-safe bowl, combine 1 cup sugar-free chocolate chips with 2 tablespoons coconut oil. Heat in 20–30 second bursts, stirring between each, until smooth and glossy.
- Sweeten to taste: Stir in 1–2 teaspoons powdered sweetener and a pinch of fine sea salt. Taste a tiny bit and adjust. Add 1/2 teaspoon vanilla.
- Make the base layer: Spoon about 1 teaspoon melted chocolate into each liner. Tilt the pan so the chocolate coats the bottom evenly. Chill 5–10 minutes until just set.
- Mix the filling: In a small bowl, stir 1/2 cup natural peanut butter with 1–2 teaspoons powdered sweetener and a tiny pinch of salt until creamy.
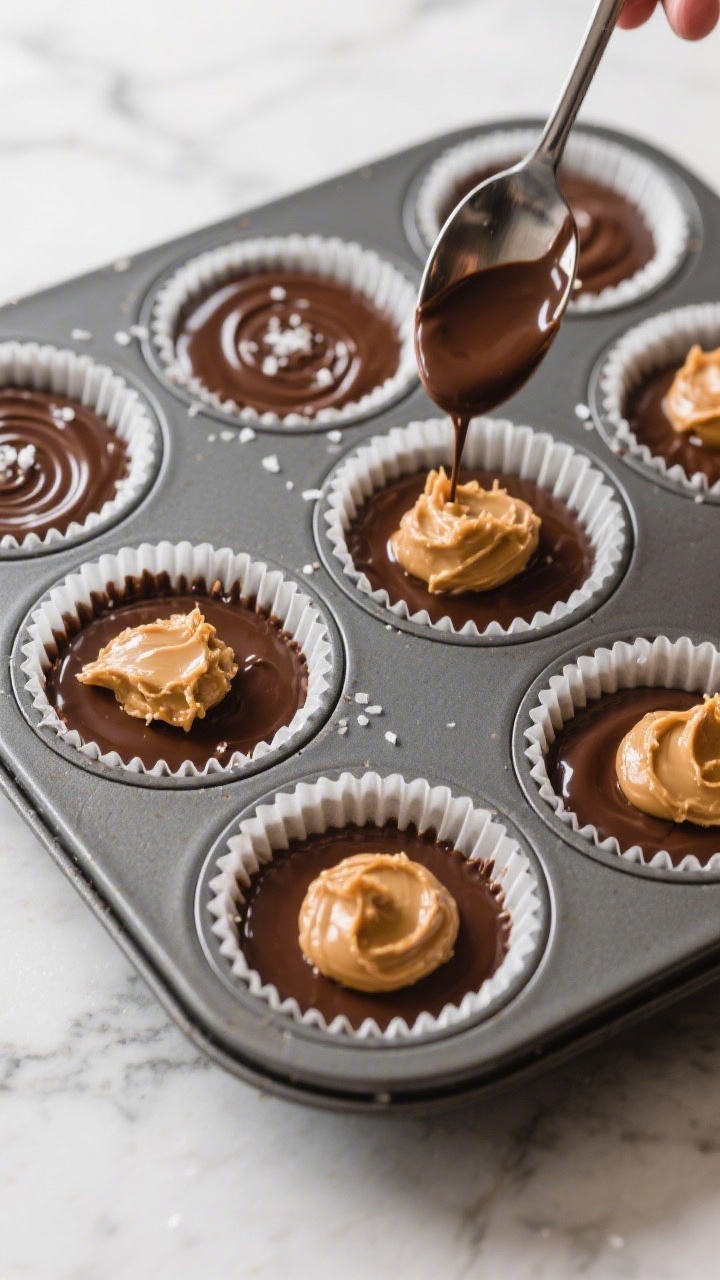
- Add the filling: Place a 1/2–1 teaspoon dollop of peanut butter on each chocolate base. Gently flatten so it stays away from the edges.
- Top with chocolate: Spoon enough melted chocolate over each to cover the peanut butter completely. Tap the pan lightly to smooth the tops.
- Finish and set: Sprinkle flaky salt on top if you like. Chill 20–30 minutes, until firm.
- Serve: Peel off the liners and enjoy. Keep extras chilled so they stay snappy and smooth.
What Makes This Recipe So Good
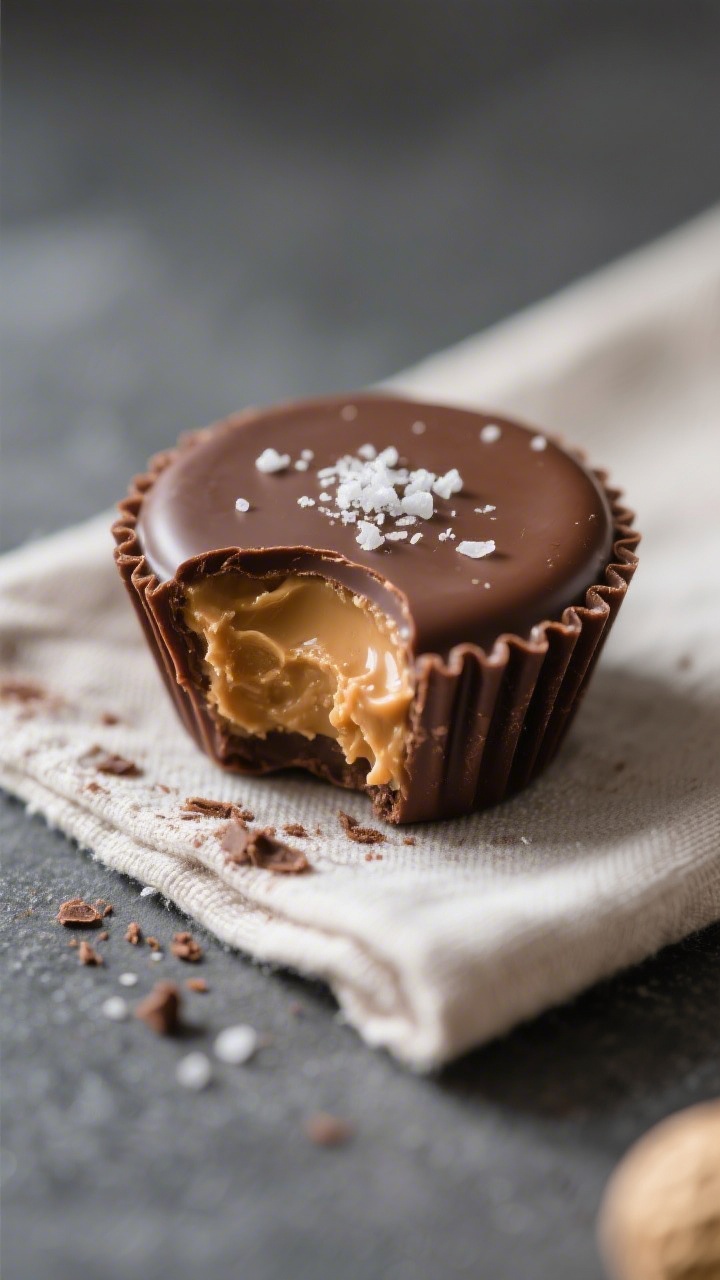
- Real dessert taste: Rich chocolate and creamy peanut butter deliver classic candy-bar flavor without the sugar overload.
- Low effort: No baking, no fancy equipment—just melt, stir, and chill.
- Customizable sweetness: You control the sweetener and intensity, so it never tastes “diet.”
- Smart macros: High in healthy fats and low in net carbs, so it fits keto and low-carb lifestyles.
- Great for make-ahead: Stash them in the fridge or freezer for quick, portion-controlled treats.
Shopping List
- Sugar-free dark chocolate chips (or a 70–85% dark chocolate bar if you’re flexible on carbs)
- Natural peanut butter (creamy, no added sugar; substitute almond or sunflower seed butter if needed)
- Coconut oil or butter (to help the chocolate set silky-smooth)
- Powdered or liquid low-carb sweetener (erythritol/monk fruit blend, allulose, or stevia)
- Vanilla extract
- Fine sea salt
- Flaky salt (optional, for topping)
- Mini muffin liners and a mini muffin tin
How to Make It
- Prep the pan: Line a mini muffin tin with 18–24 mini liners, depending on how thick you like your cups.
- Melt the chocolate: In a microwave-safe bowl, combine 1 cup sugar-free chocolate chips with 2 tablespoons coconut oil. Heat in 20–30 second bursts, stirring between each, until smooth and glossy.
- Sweeten to taste: Stir in 1–2 teaspoons powdered sweetener and a pinch of fine sea salt. Taste a tiny bit and adjust.Add 1/2 teaspoon vanilla.
- Make the base layer: Spoon about 1 teaspoon melted chocolate into each liner. Tilt the pan so the chocolate coats the bottom evenly. Chill 5–10 minutes until just set.
- Mix the filling: In a small bowl, stir 1/2 cup natural peanut butter with 1–2 teaspoons powdered sweetener and a tiny pinch of salt until creamy.
- Add the filling: Place a 1/2–1 teaspoon dollop of peanut butter on each chocolate base.Gently flatten so it stays away from the edges.
- Top with chocolate: Spoon enough melted chocolate over each to cover the peanut butter completely. Tap the pan lightly to smooth the tops.
- Finish and set: Sprinkle flaky salt on top if you like. Chill 20–30 minutes, until firm.
- Serve: Peel off the liners and enjoy.Keep extras chilled so they stay snappy and smooth.
Storage Instructions
- Fridge: Store in an airtight container up to 2 weeks.
- Freezer: Freeze up to 2 months. Let sit at room temp 5–10 minutes before eating for the best texture.
- Layer smart: If stacking, separate layers with parchment to prevent sticking.

Why This is Good for You
- Lower sugar, steady energy: Using a low-carb sweetener helps avoid blood sugar spikes and crashes.
- Healthy fats: Peanut butter and coconut oil provide satiating fats that help curb cravings.
- Portion control built in: Mini cups make it easy to enjoy dessert without going overboard.
- Fiber and micronutrients: Dark chocolate offers antioxidants, and nut butters add minerals like magnesium.
Pitfalls to Watch Out For
- Hidden sugars: Check labels on peanut butter and chocolate. Avoid brands with added sugar or maltitol if it upsets your stomach.
- Grainy sweetener: Use a powdered sweetener for smooth texture; granulated can feel gritty in the chocolate or filling.
- Overheating chocolate: Heat gently and stir often.Burnt chocolate turns thick and dull.
- Runny peanut butter: If your PB is very drippy, chill it a few minutes or stir in a pinch of coconut flour to thicken.
Variations You Can Try
- Almond Crunch: Use almond butter and add a few crushed roasted almonds between layers.
- Coconut Macaroon: Sprinkle unsweetened shredded coconut over the peanut butter before topping with chocolate.
- Mocha Cups: Stir 1/2 teaspoon instant espresso powder into the melted chocolate for coffee-house vibes.
- Salted Caramel (Low Carb): Swirl a touch of sugar-free caramel sauce into the peanut butter layer.
- Peppermint Patty: Add 1/4 teaspoon peppermint extract to the chocolate and use almond butter for a lighter filling.
FAQ
How many carbs are in each cup?
Exact counts vary by brand, but using sugar-free chocolate and natural peanut butter, most mini cups land around 2–3 net carbs each. Check your labels and calculate based on what you use.
Can I make these dairy-free?
Yes. Use coconut oil instead of butter and choose dairy-free sugar-free chocolate.
Everything else stays the same.
What if I don’t like peanut butter?
Swap in almond butter, cashew butter, or sunflower seed butter. Adjust sweetness and salt to taste since each nut or seed butter has a different flavor profile.
Do I need a double boiler?
No. The microwave method is quick and easy.
If you prefer stovetop, set a heatproof bowl over barely simmering water and stir until melted.
My chocolate is too thick. What should I do?
Stir in an extra teaspoon of coconut oil to loosen it up. Warm for a few seconds and mix until smooth and pourable.
Can I make them bigger?
Sure.
Use a standard muffin tin with paper liners and double the amounts per cup. Add a few extra minutes of chill time.
Wrapping Up
These creamy chocolate peanut butter cups prove low carb can still taste like the real deal. With simple ingredients, quick prep, and a rich flavor you’ll crave, they’re perfect for weeknights, meal prep, or anytime a sweet tooth strikes.
Keep a batch on hand and enjoy dessert without second-guessing.
Printable Recipe Card
Want just the essential recipe details without scrolling through the article? Get our printable recipe card with just the ingredients and instructions.