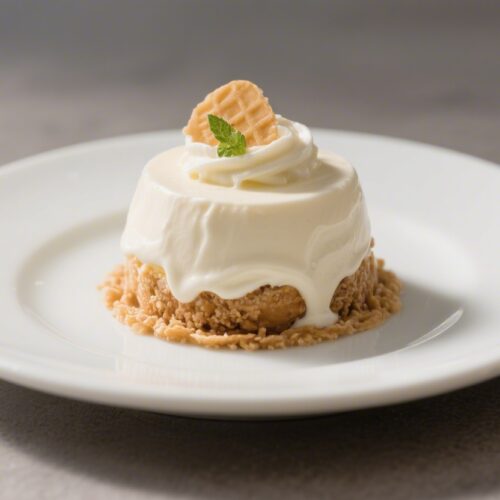
Non Dairy Dessert That Is Creamy and Delicious – A Smooth, Dreamy Treat
Skip the dairy and keep all the indulgence. This creamy, scoopable dessert is rich, silky, and easy to make with pantry staples. It tastes like a cross between ice cream and mousse, with a clean finish and no heavy aftertaste.
You don’t need special equipment, and it sets beautifully in the freezer. Make it tonight, and you’ll have a dessert that feels special but takes very little effort.
What Makes This Recipe So Good
Non Dairy Dessert That Is Creamy and Delicious - A Smooth, Dreamy Treat
Ingredients
- 2 cans (13.5 oz each) full-fat coconut milk, chilled at least 6 hours
- 1/3 to 1/2 cup maple syrup or agave nectar (adjust to taste)
- 2 teaspoons pure vanilla extract
- 1/8 teaspoon fine sea salt
- 2 tablespoons coconut oil, melted and cooled slightly (for extra creaminess)
- Optional add-ins: 2 tablespoons cocoa powder, 1/2 cup chopped dark chocolate (dairy-free), 1/2 cup mashed ripe banana, 1/2 cup pureed strawberries, or 1 tablespoon instant espresso powder
Instructions
- Chill the cans: Refrigerate the coconut milk overnight or at least 6 hours. This helps the cream thicken and separate.
- Prepare the base: Open the cans and scoop the thick coconut cream into a blender. Add 2–4 tablespoons of the remaining coconut water as needed to blend smoothly.
- Add flavor and sweetness: Blend in the maple syrup, vanilla, sea salt, and melted coconut oil until silky and fully combined.
- Adjust: Taste and adjust sweetness or salt. If using cocoa, espresso, or fruit puree, blend it in now until smooth.
- Chill the mixture: Pour into a bowl, cover, and refrigerate for 30–60 minutes. A colder base freezes more evenly.
- Freeze without an ice cream maker: Transfer to a shallow, freezer-safe dish. Freeze for 2–3 hours, stirring every 30 minutes to break up ice crystals. If adding chocolate chunks, fold them in during the last stir.
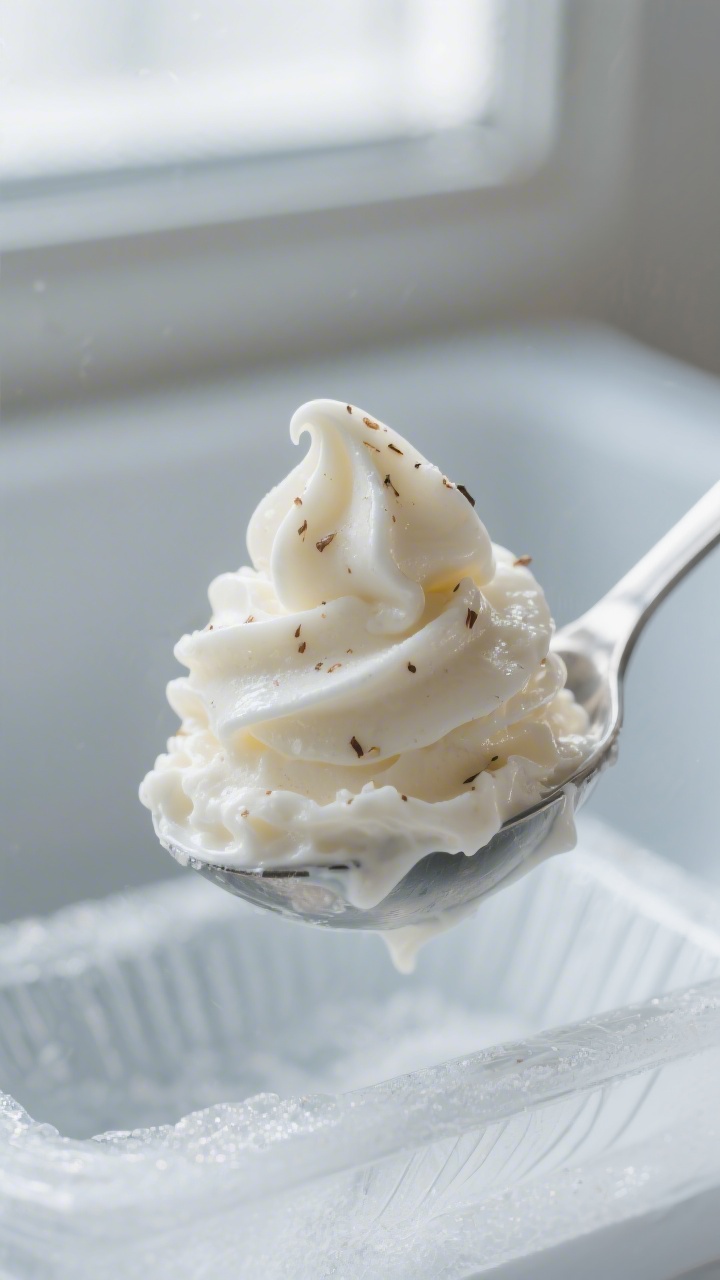
- Serve: When it reaches a soft-serve texture, scoop and enjoy. For a firmer set, freeze 1–2 hours more, then let sit at room temperature for 10 minutes before scooping.
- Ultra-creamy texture: Full-fat coconut milk delivers a lush, velvety base without any dairy.
- Simple ingredients: Just a handful of items you likely have on hand—no stabilizers or gums.
- Easy method: Blend, chill, freeze. No ice cream maker required.
- Customizable flavor: Keep it classic vanilla, or layer in chocolate, fruit, or coffee.
- Better-for-you sweetener options: Use maple syrup, agave, or sugar—your call.
Ingredients
- 2 cans (13.5 oz each) full-fat coconut milk, chilled at least 6 hours
- 1/3 to 1/2 cup maple syrup or agave nectar (adjust to taste)
- 2 teaspoons pure vanilla extract
- 1/8 teaspoon fine sea salt
- 2 tablespoons coconut oil, melted and cooled slightly (for extra creaminess)
- Optional add-ins: 2 tablespoons cocoa powder, 1/2 cup chopped dark chocolate (dairy-free), 1/2 cup mashed ripe banana, 1/2 cup pureed strawberries, or 1 tablespoon instant espresso powder
How to Make It
- Chill the cans: Refrigerate the coconut milk overnight or at least 6 hours.This helps the cream thicken and separate.
- Prepare the base: Open the cans and scoop the thick coconut cream into a blender. Add 2–4 tablespoons of the remaining coconut water as needed to blend smoothly.
- Add flavor and sweetness: Blend in the maple syrup, vanilla, sea salt, and melted coconut oil until silky and fully combined.
- Adjust: Taste and adjust sweetness or salt. If using cocoa, espresso, or fruit puree, blend it in now until smooth.
- Chill the mixture: Pour into a bowl, cover, and refrigerate for 30–60 minutes.A colder base freezes more evenly.
- Freeze without an ice cream maker: Transfer to a shallow, freezer-safe dish. Freeze for 2–3 hours, stirring every 30 minutes to break up ice crystals. If adding chocolate chunks, fold them in during the last stir.
- Serve: When it reaches a soft-serve texture, scoop and enjoy.For a firmer set, freeze 1–2 hours more, then let sit at room temperature for 10 minutes before scooping.
How to Store
- Freezer: Store in an airtight container for up to 2 weeks. Press parchment directly on the surface to minimize ice crystals.
- Soften before serving: Let the container sit at room temperature for 5–15 minutes for easy scooping.
- Avoid refreezing: Repeated thawing and freezing can make the texture icy.
Benefits of This Recipe
- Dairy-free and vegan: Great for dairy sensitivities, lactose intolerance, or plant-based diets.
- Simple, whole ingredients: No artificial flavors or stabilizers needed.
- Balanced sweetness: You control the sugar and can use unrefined options.
- Batch-friendly: Doubles easily for gatherings or weekly dessert prep.
Common Mistakes to Avoid
- Skipping the chill: Warm coconut milk won’t whip or set well. Always chill the cans first.
- Using light coconut milk: It lacks the fat needed for a creamy texture.Use full-fat only.
- Over-sweetening: Flavors intensify once frozen. Sweeten slightly less than you think you need.
- Not stirring during freezing: If you don’t have an ice cream maker, periodic stirring reduces ice crystals and keeps it smooth.
- Adding watery fruit: Too much liquid can make it icy. If using fruit, stick to thick purees and keep amounts modest.
Variations You Can Try
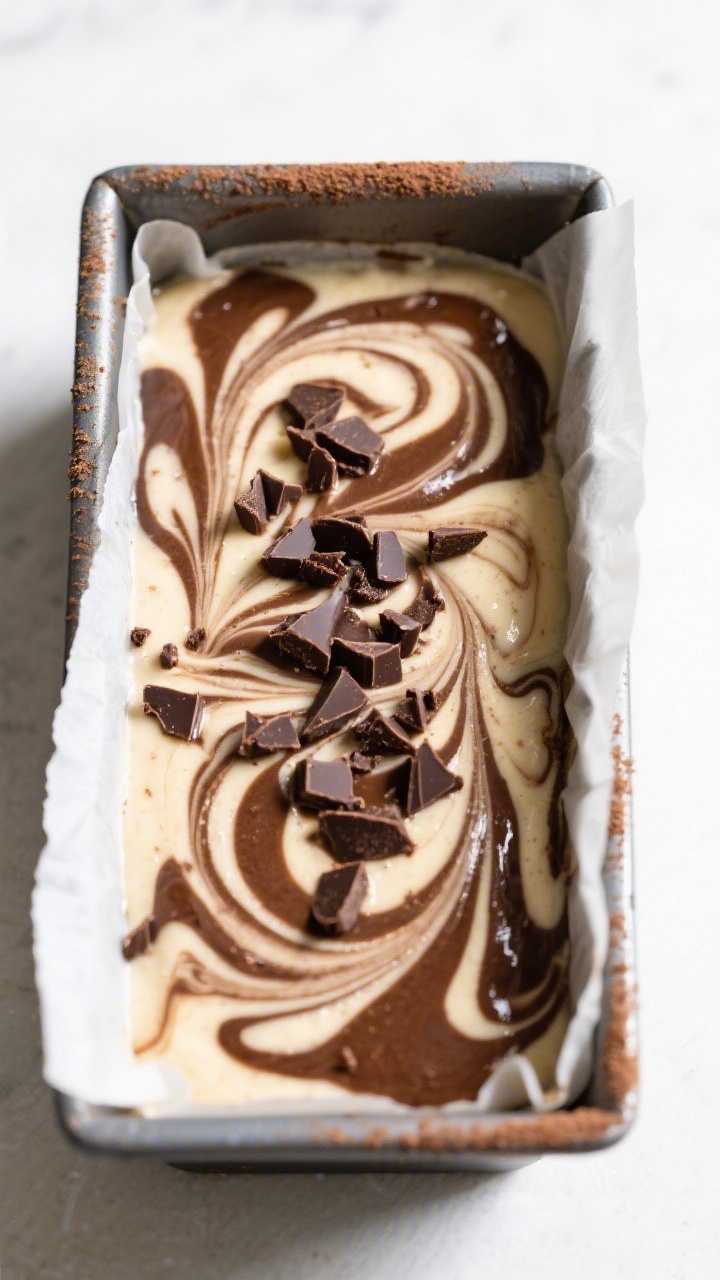
- Chocolate Fudge: Add 2 tablespoons cocoa powder and 1/2 teaspoon extra vanilla.Swirl in melted dairy-free chocolate before the final freeze.
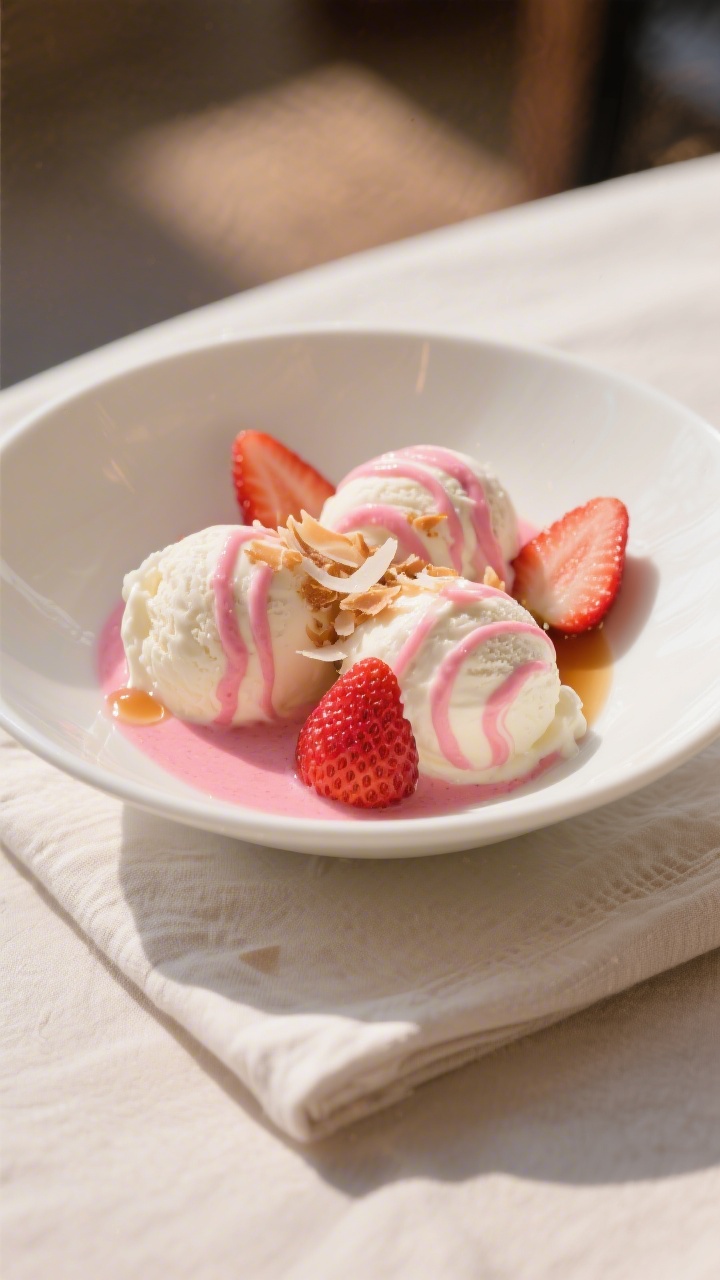
- Strawberry Swirl: Fold in 1/2 cup thick strawberry puree and a squeeze of lemon. Add a few sliced berries for texture.
- Banana Cream: Blend in 1/2 cup mashed ripe banana and a pinch of cinnamon. Great with chocolate chips.
- Coffee Mocha: Add 1 tablespoon instant espresso powder and 1 tablespoon cocoa for a bold, café-style dessert.
- Toasted Coconut Crunch: Stir in 1/3 cup toasted coconut flakes and a drizzle of maple for caramel notes.
FAQ
Can I make this without coconut milk?
Yes.
You can use a rich oat cream or a blend of soaked cashews and water (1 cup cashews to 3/4 cup water) for a thick base. Add 1–2 tablespoons neutral oil to boost creaminess.
Do I need an ice cream maker?
No. Stirring the mixture every 30 minutes during freezing keeps it smooth.
An ice cream maker will speed things up, but it’s optional.
How do I prevent ice crystals?
Use full-fat coconut milk, chill the base well, and stir during freezing. A small amount of coconut oil and a touch of salt also improve texture.
Can I reduce the sweetener?
Absolutely. Start with 1/3 cup and adjust.
Remember that flavors mute in the freezer, so slightly sweeter batter equals balanced frozen taste.
Is this kid-friendly?
Yes. Keep flavors simple, like vanilla or chocolate, and use mini chocolate chips or sprinkles for fun.
What if my coconut milk didn’t separate?
Some brands stay emulsified. Chill longer, or add 1/4 cup raw cashews (pre-soaked) and blend to thicken.
Wrapping Up
This non-dairy dessert is creamy, adaptable, and surprisingly simple.
With a few basic ingredients and no special gear, you’ll have a dessert that tastes luxurious and feels light. Make the classic vanilla version first, then riff with chocolate, fruit, or coffee. Keep a batch in the freezer, and treat yourself whenever the craving hits.
Printable Recipe Card
Want just the essential recipe details without scrolling through the article? Get our printable recipe card with just the ingredients and instructions.